I love going on r/selfhosting and r/homelab, like why is there a daily “I bought all this hardware but dont know what to do with it?” post? idk man give me your hard drives. “My bitch wife still uses netflix instead of my jellyfin/arr stack” oh no give me your hard drives. “How do i make my server secure” hand them over, now.
You might not like it, but this is what the ideal Jellyfin server looks like
Ordered something in the UK and the company send it with EVRI (Hermes rebrand), which for tracking links me to GlobalEco, which in turn gives me both Hermes and DHL tracking numbers but none of them work 👍
my favorite bit of “degoogling” i've done

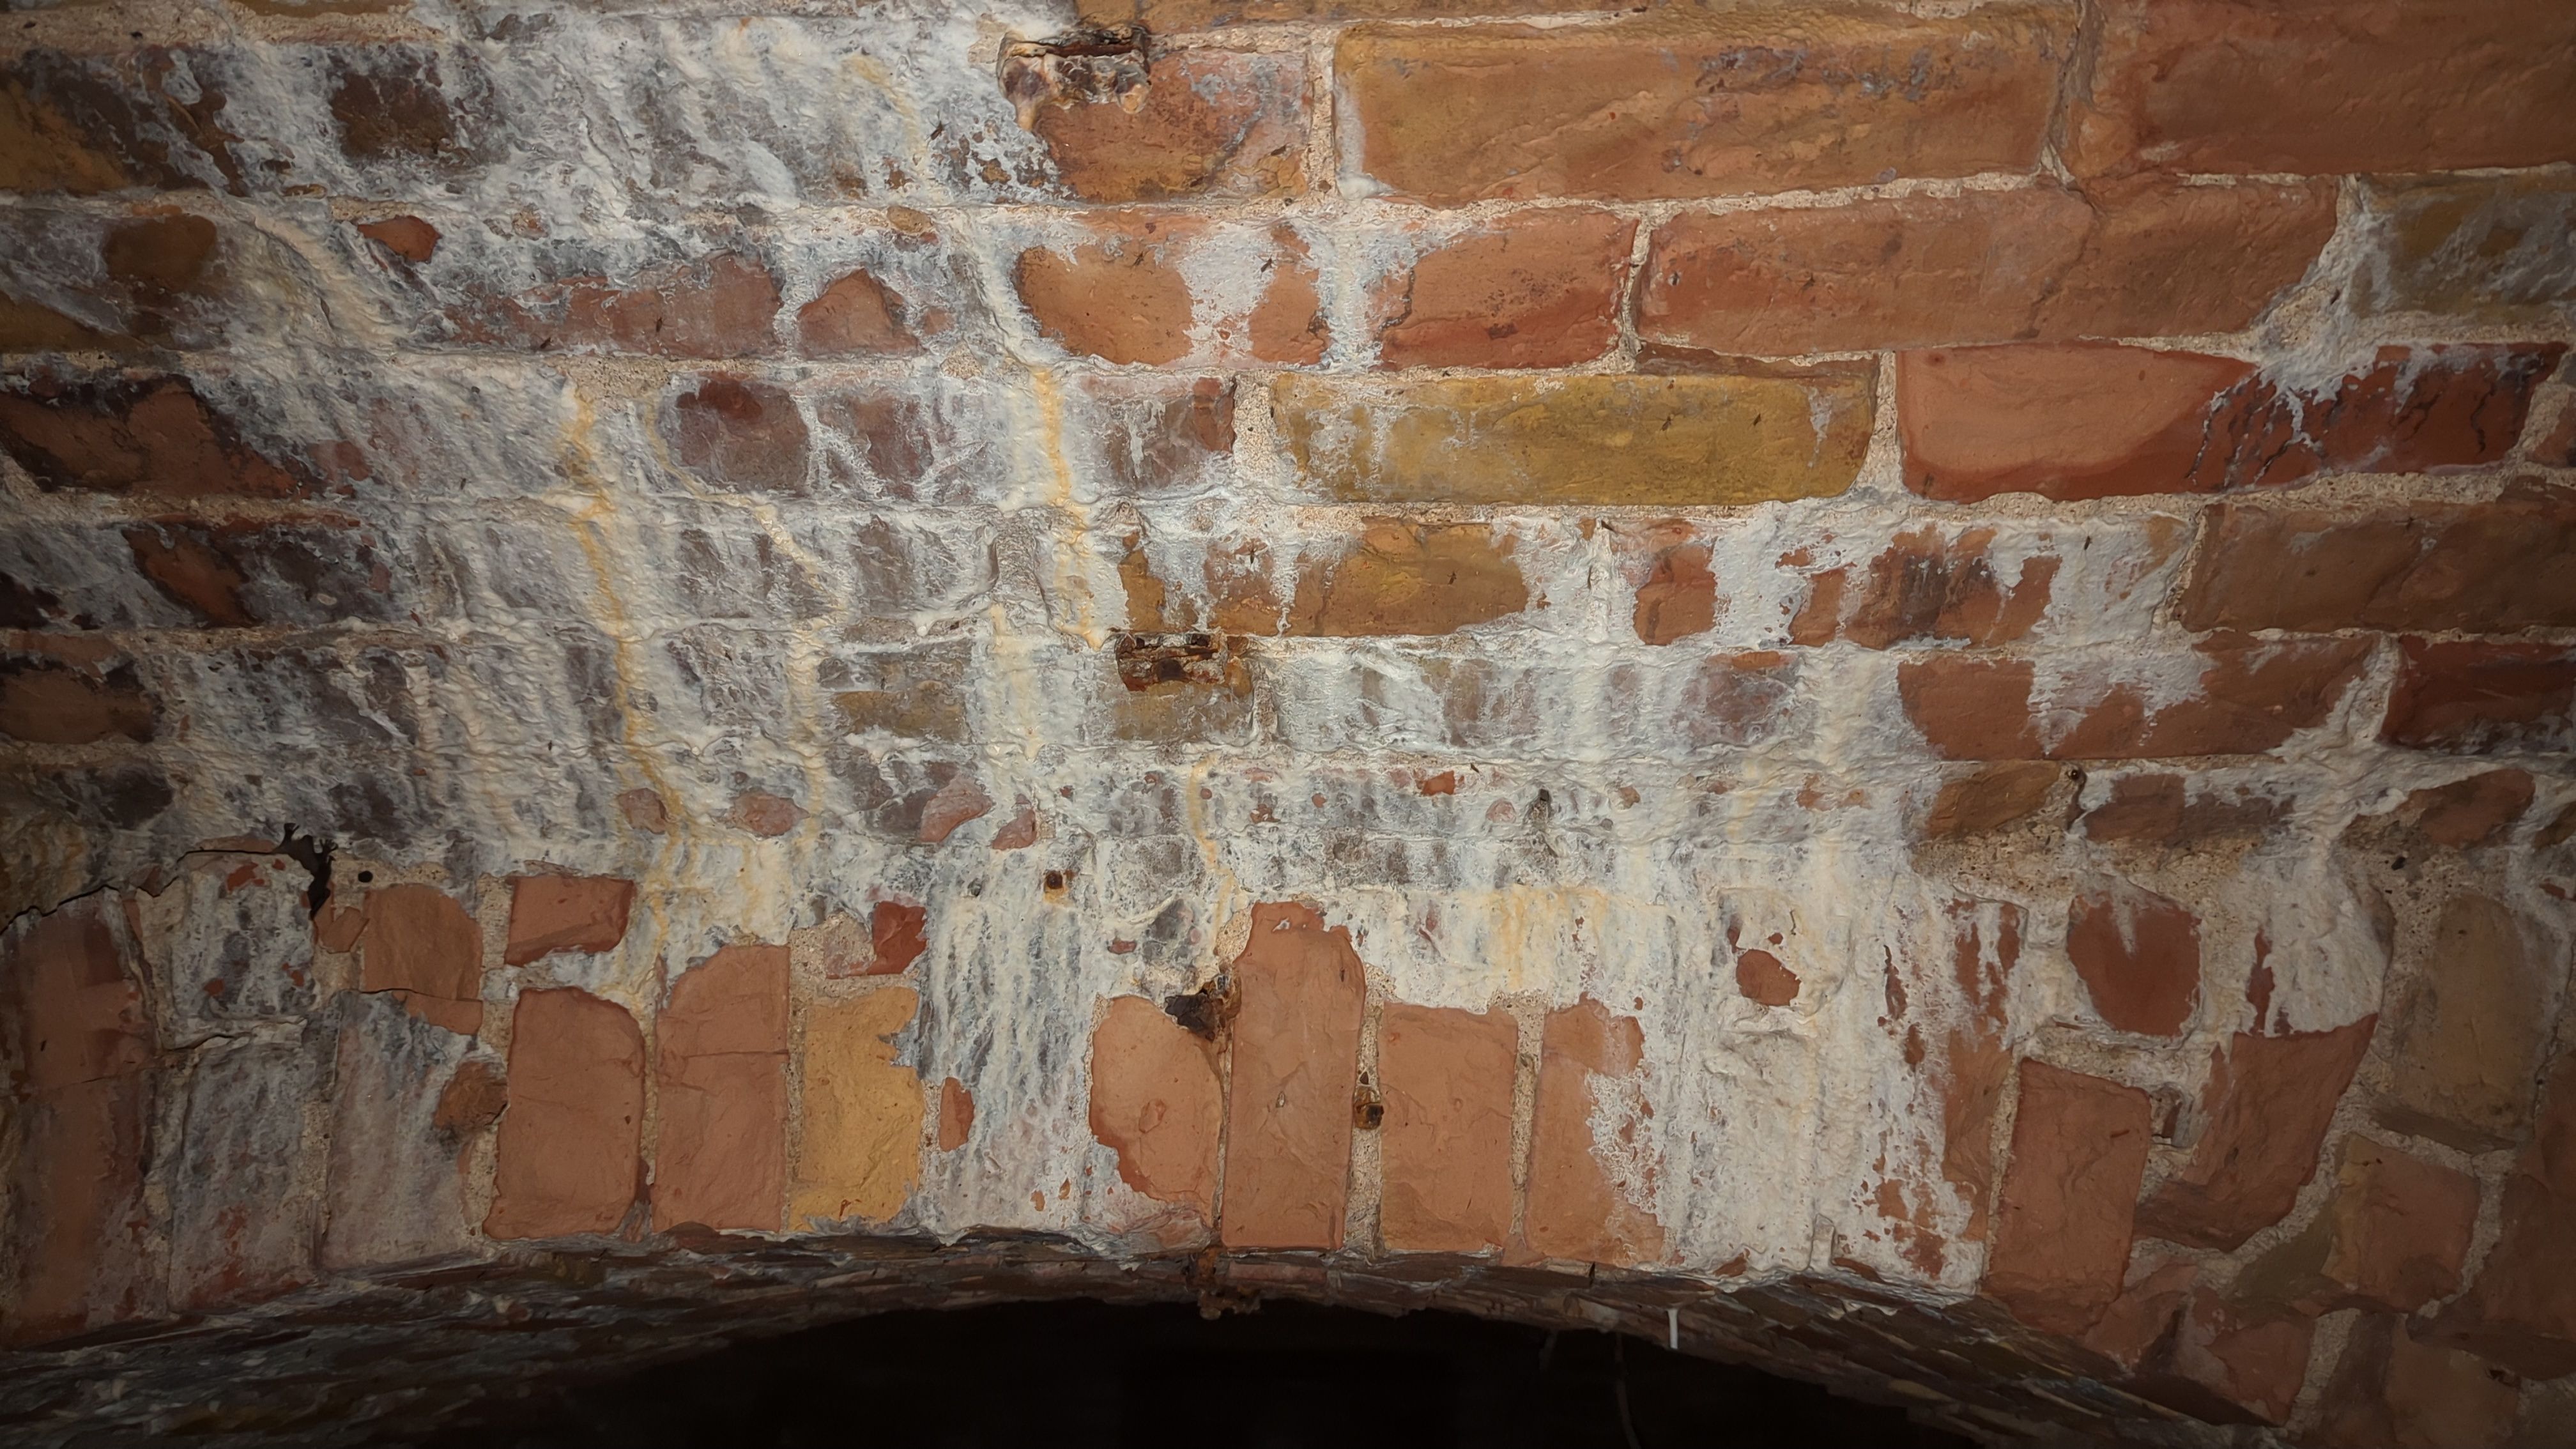
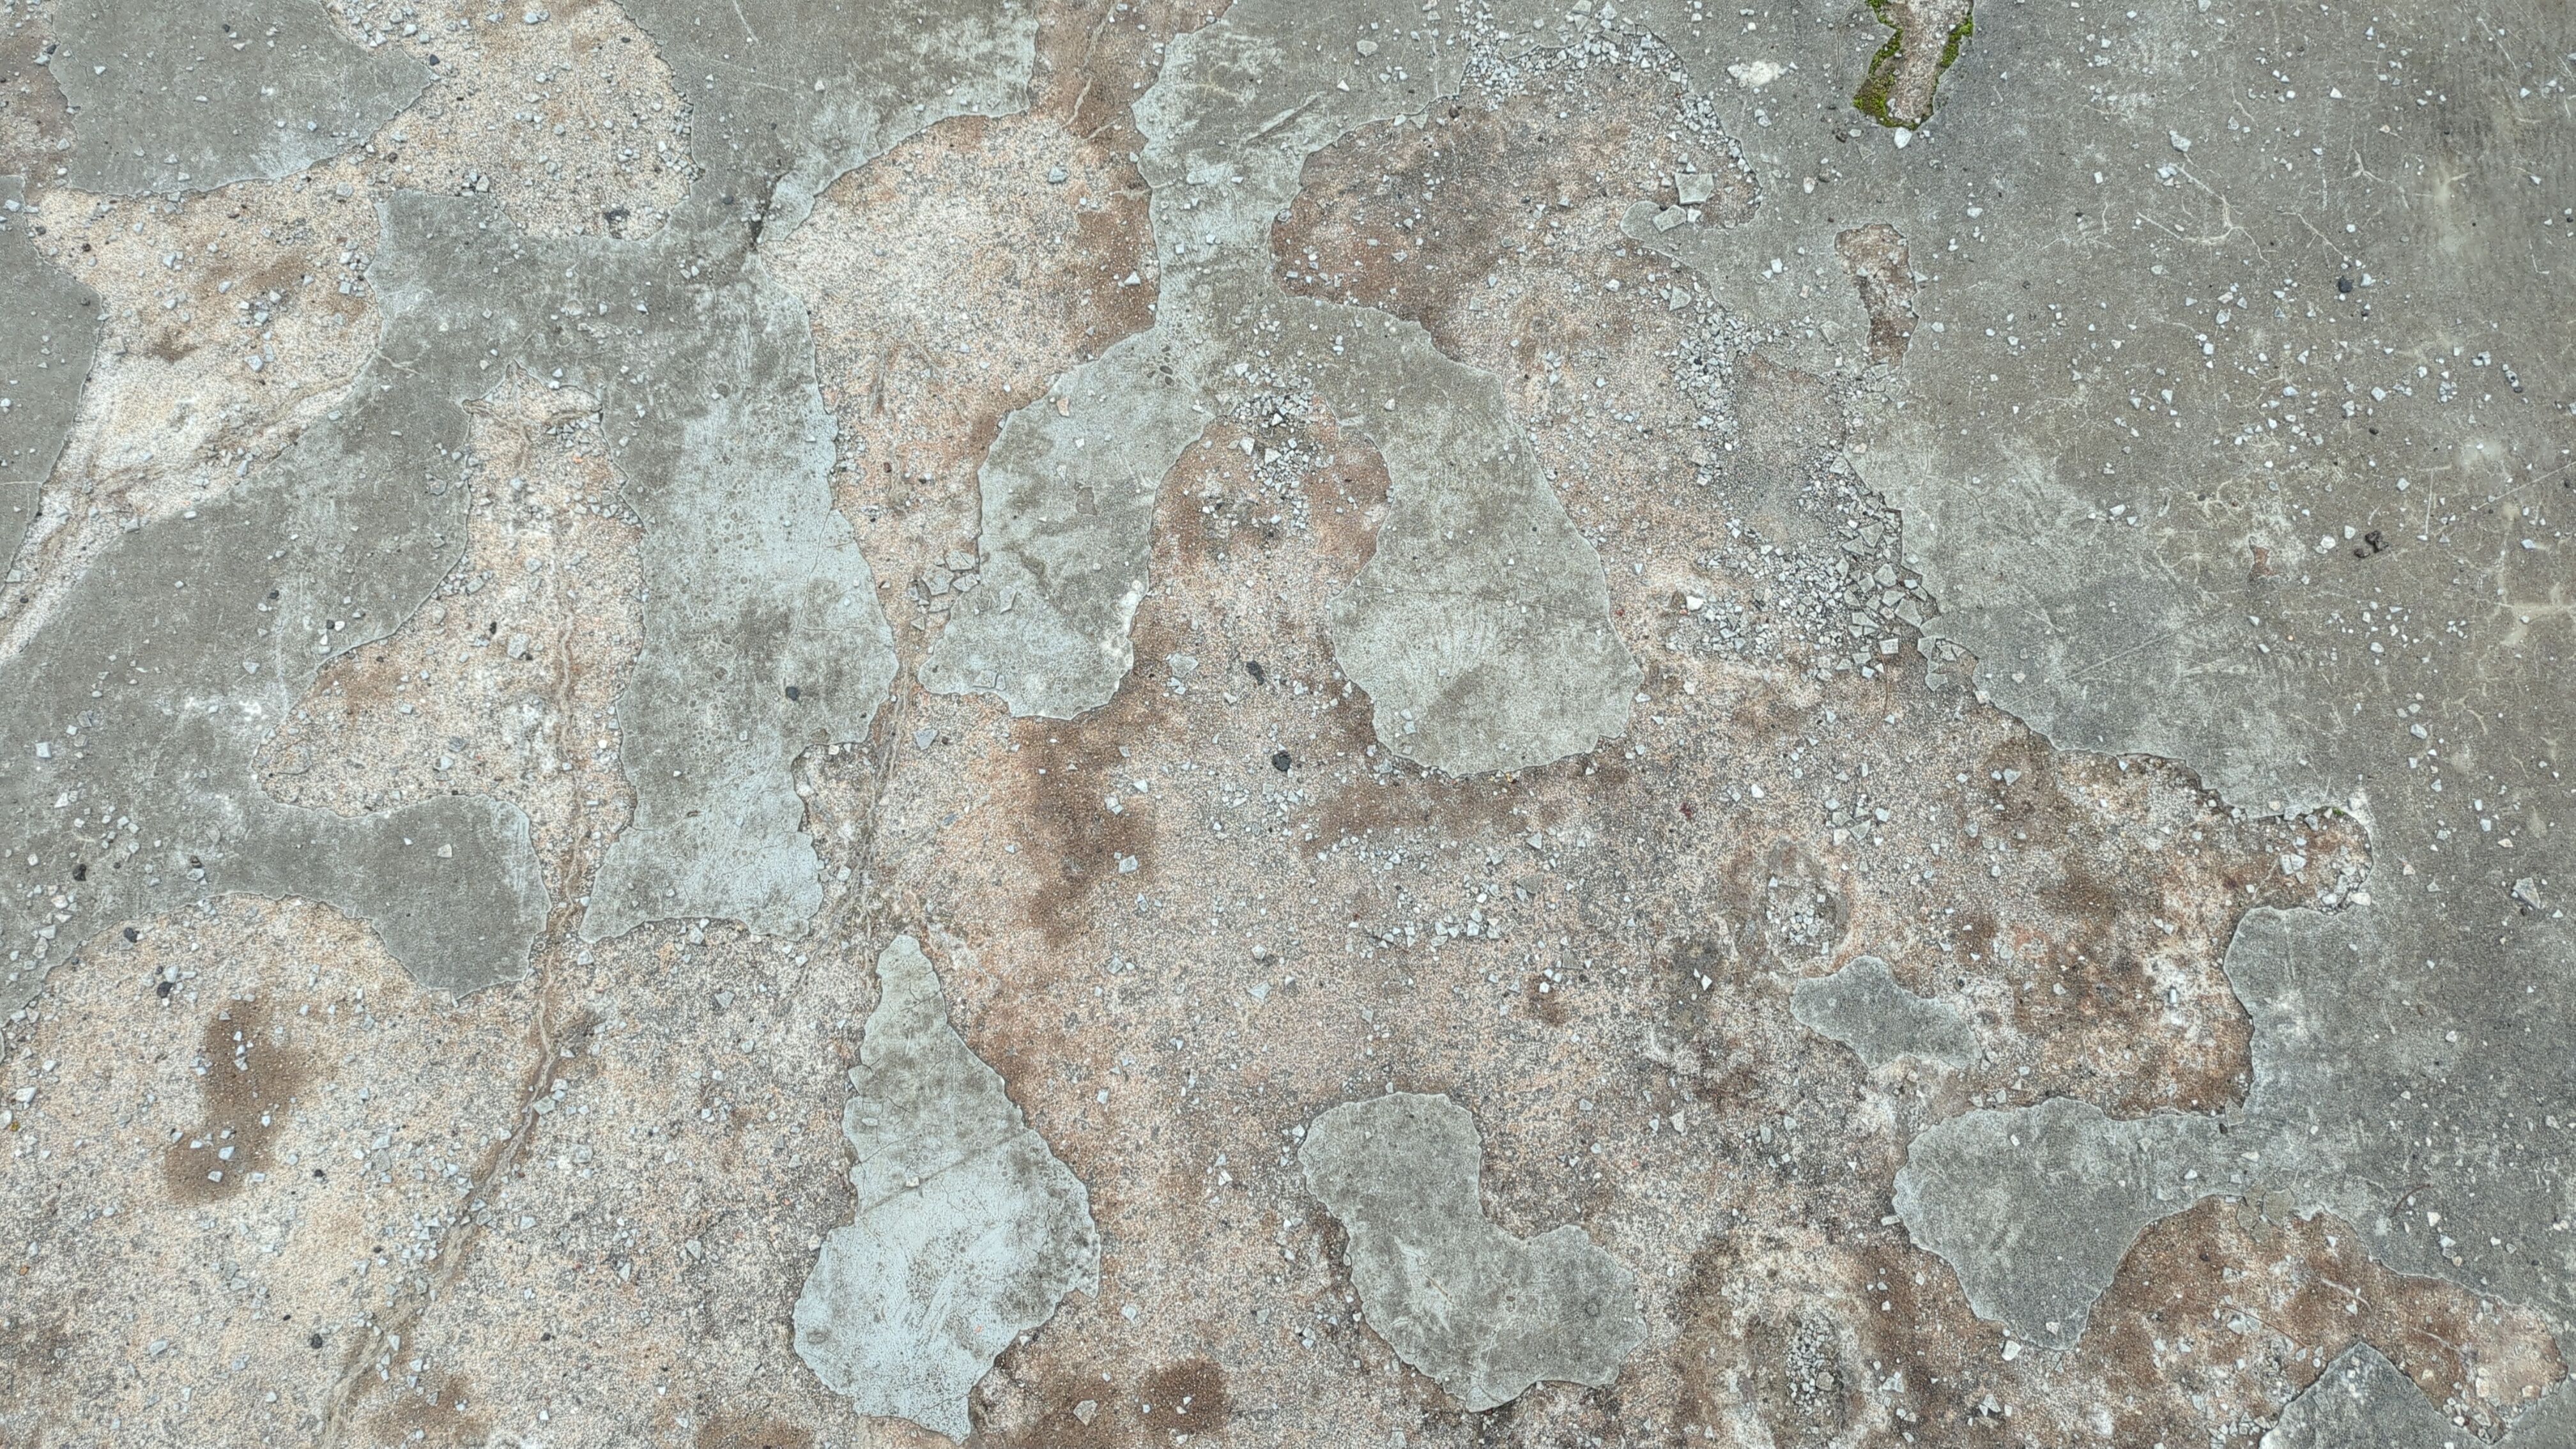
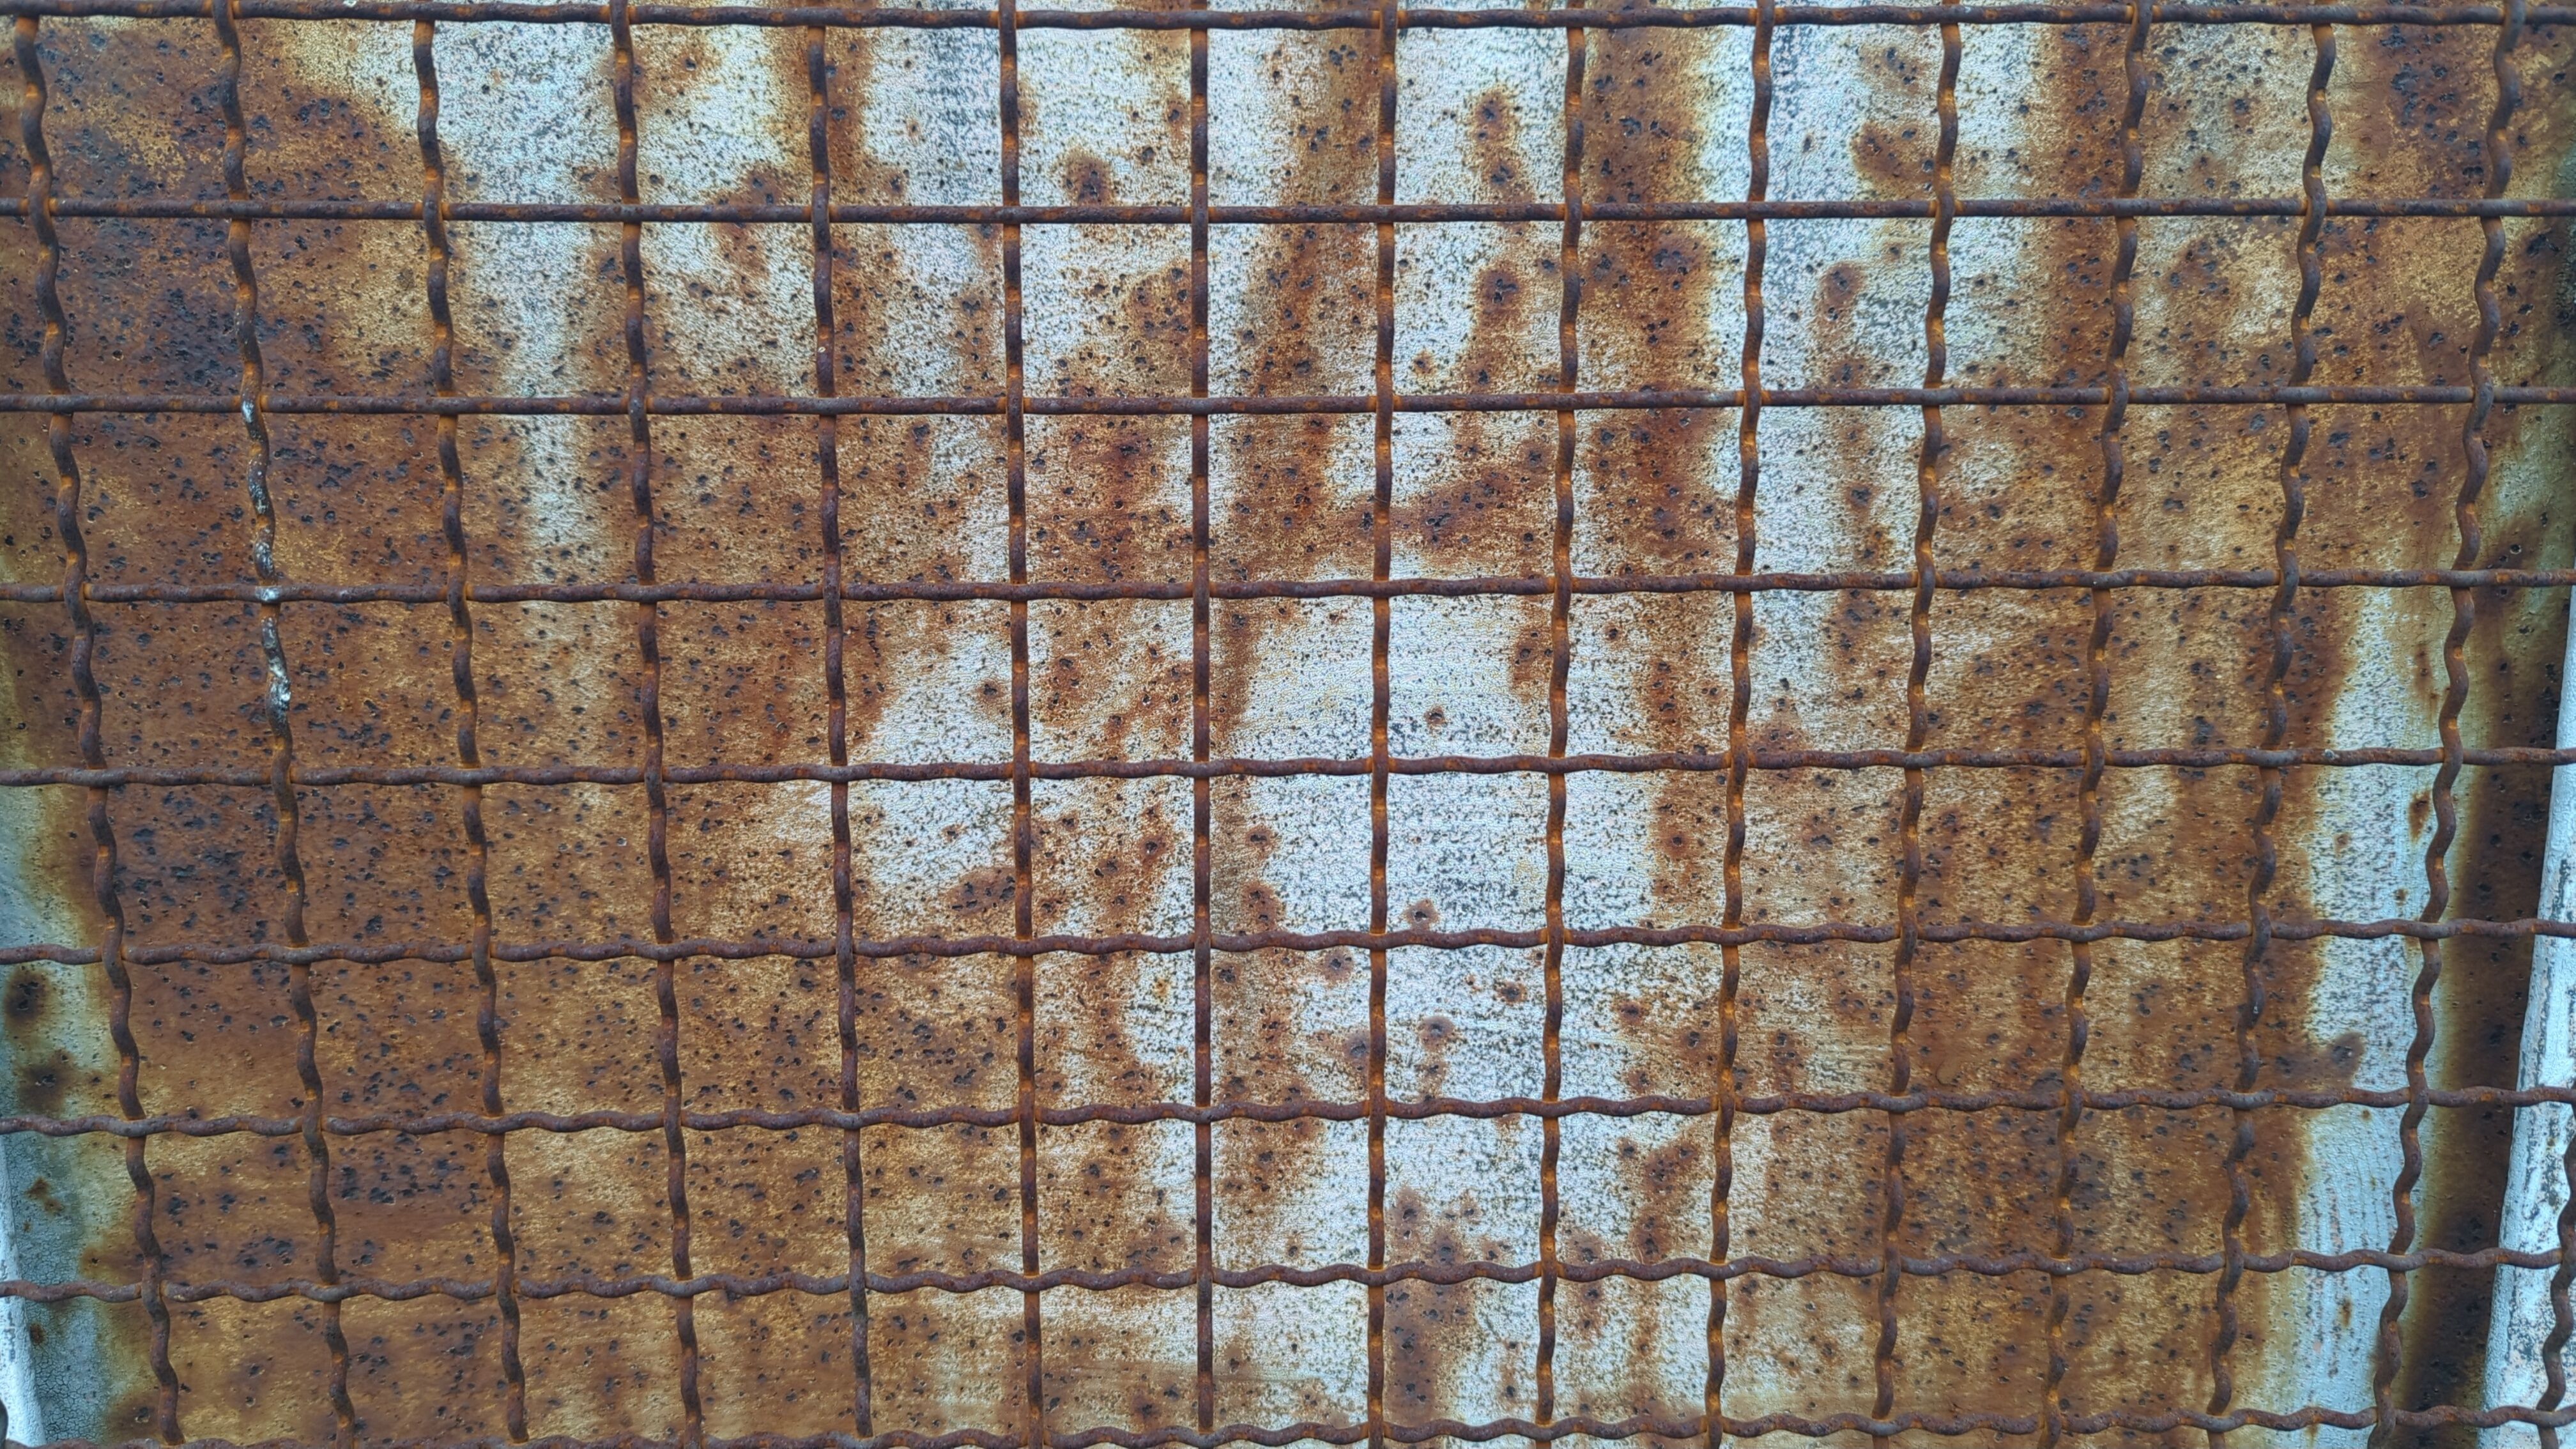
(doing an Outdoor Activity) hmm lets collect some cool textures
new bot alert
Almost forgot to follow up on my post from a few weeks ago, i did made a new bluesky and mastodon bot for all my Alien heads out there
Just beat Widow in Silksong after like at least 5 hours trying, i assume its all smooth sailing from here
The big Button Box post
If you ever saw a picture of my desk, you might have wondered what the giant device sitting under my monitor might be.
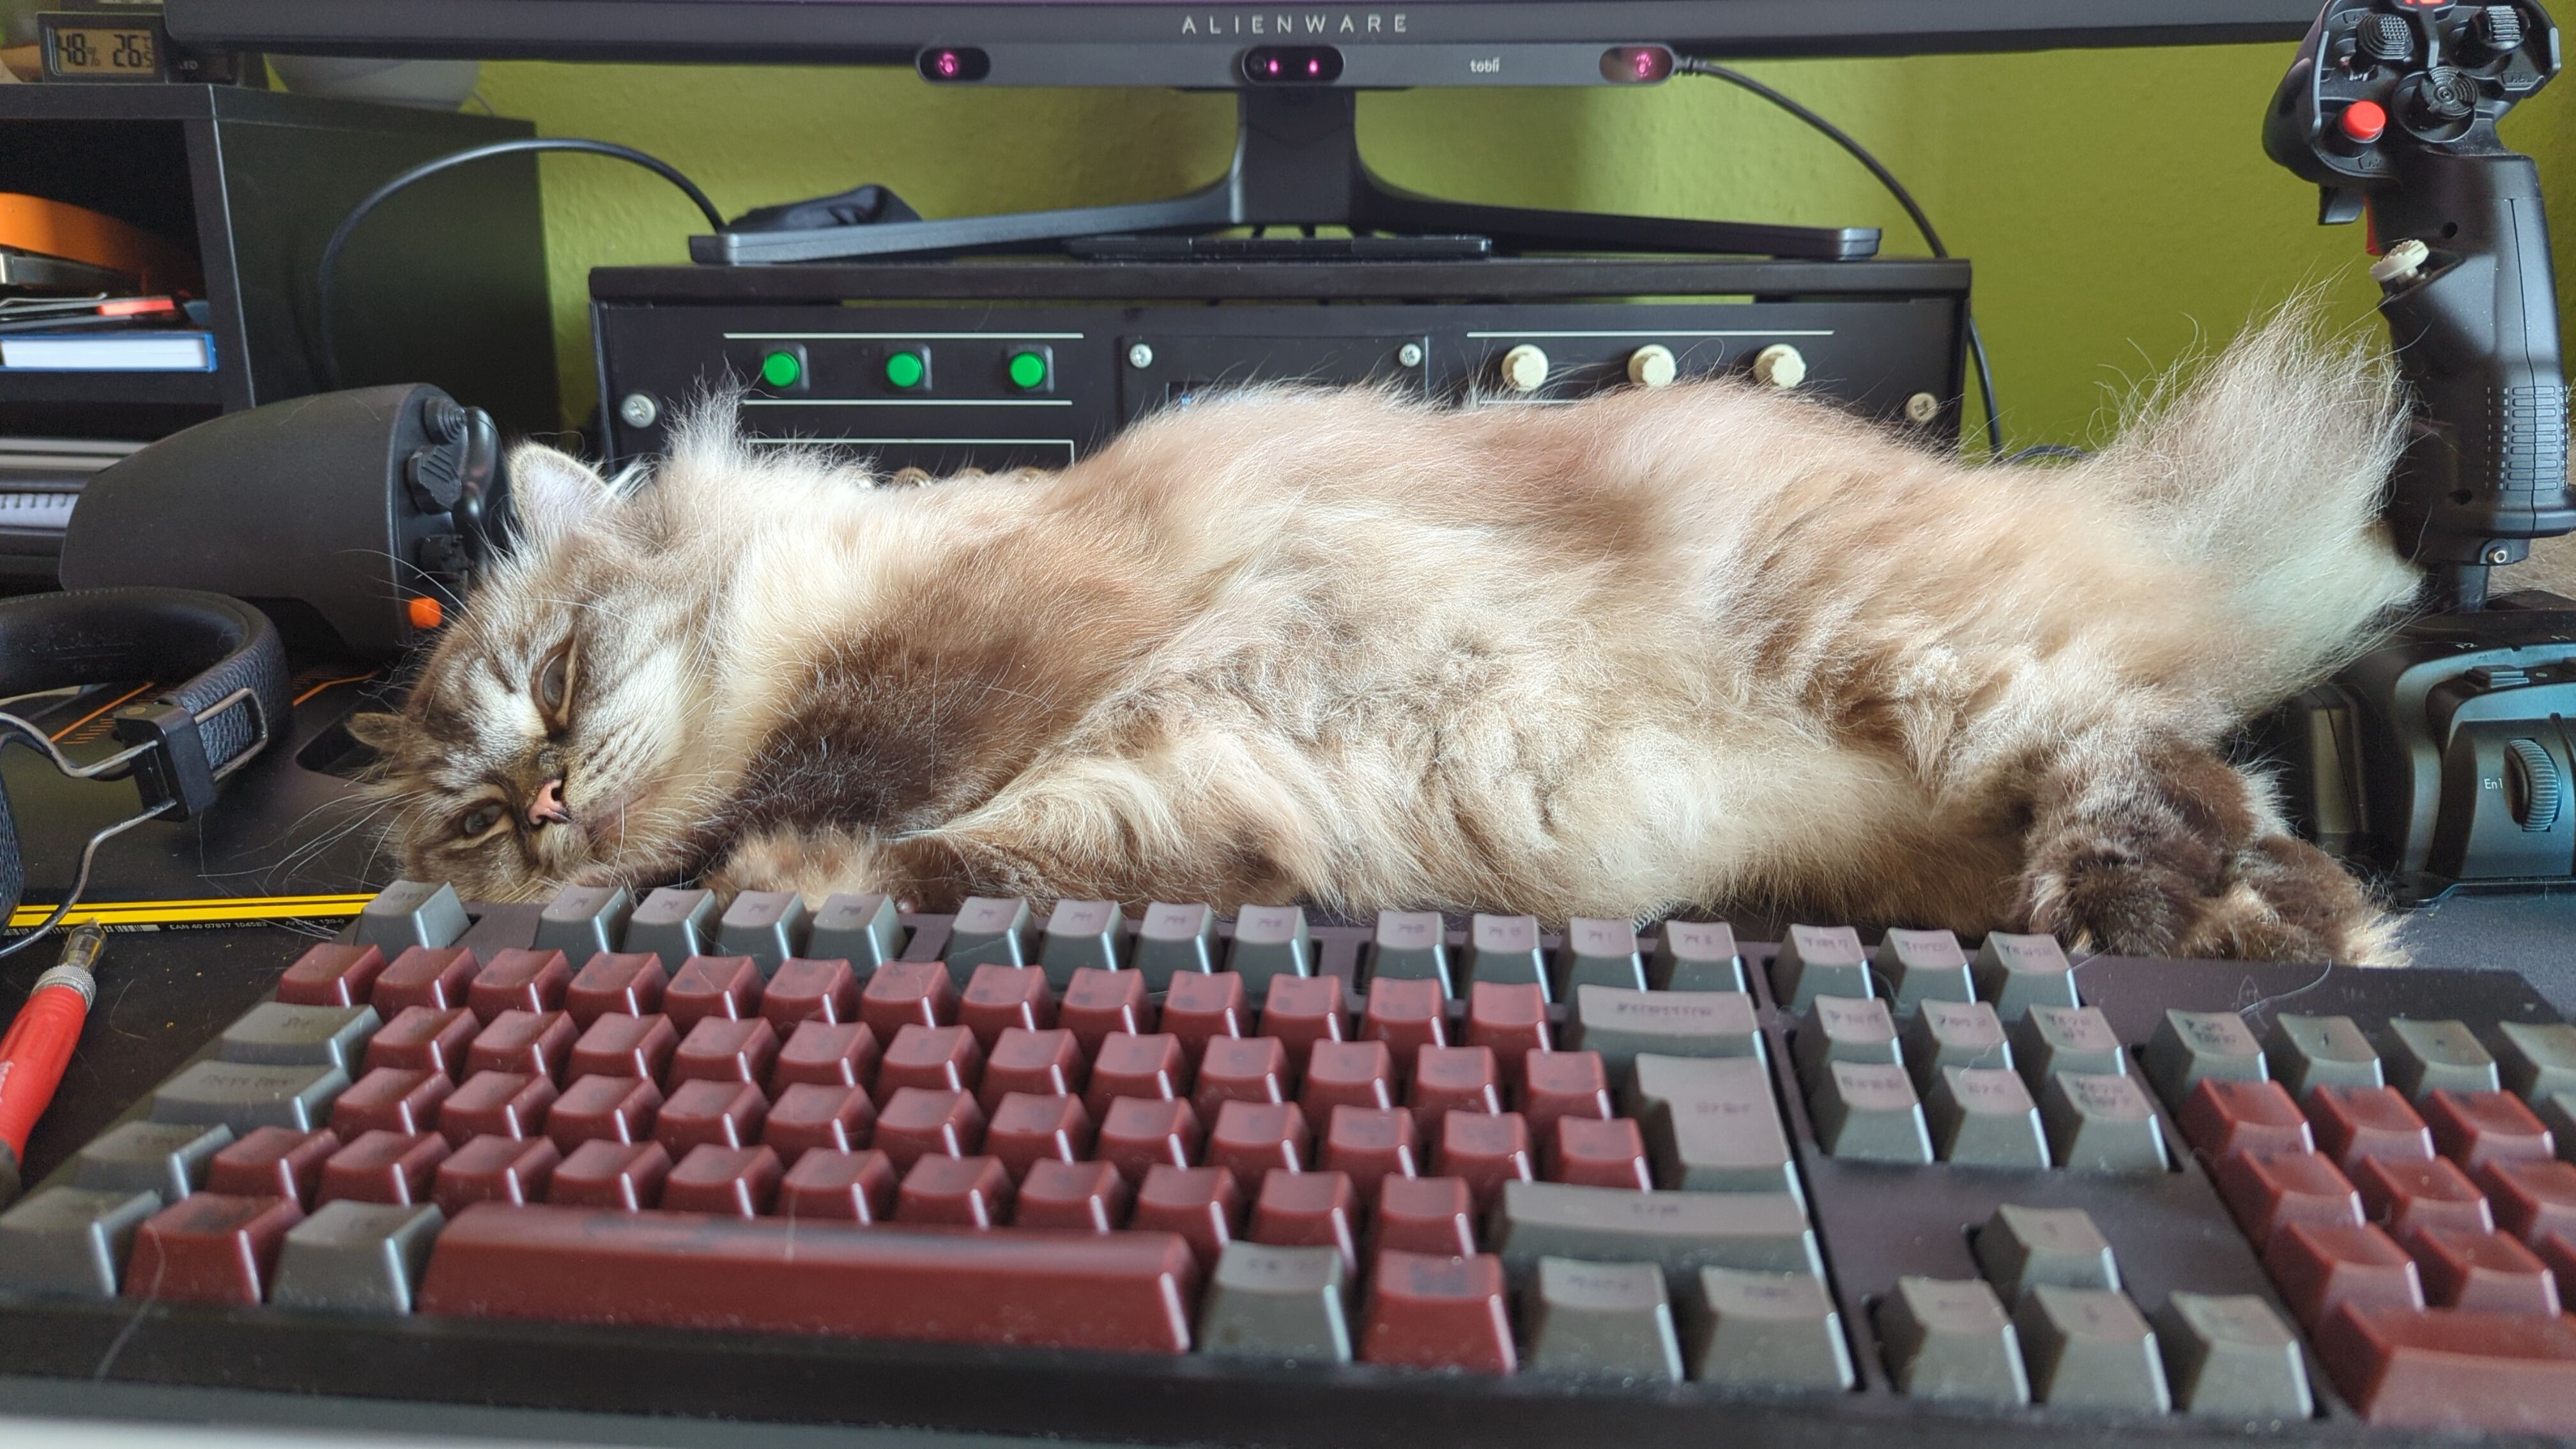
This is what I have dubbed the Universal Button Box (UBB), a hardware DIY project that I have been working on on and off for about four years by now. My goal is to have something that can interface with all my beloved simulation games, home automation shenanigans and makes using the computer a lot more tactile in general.
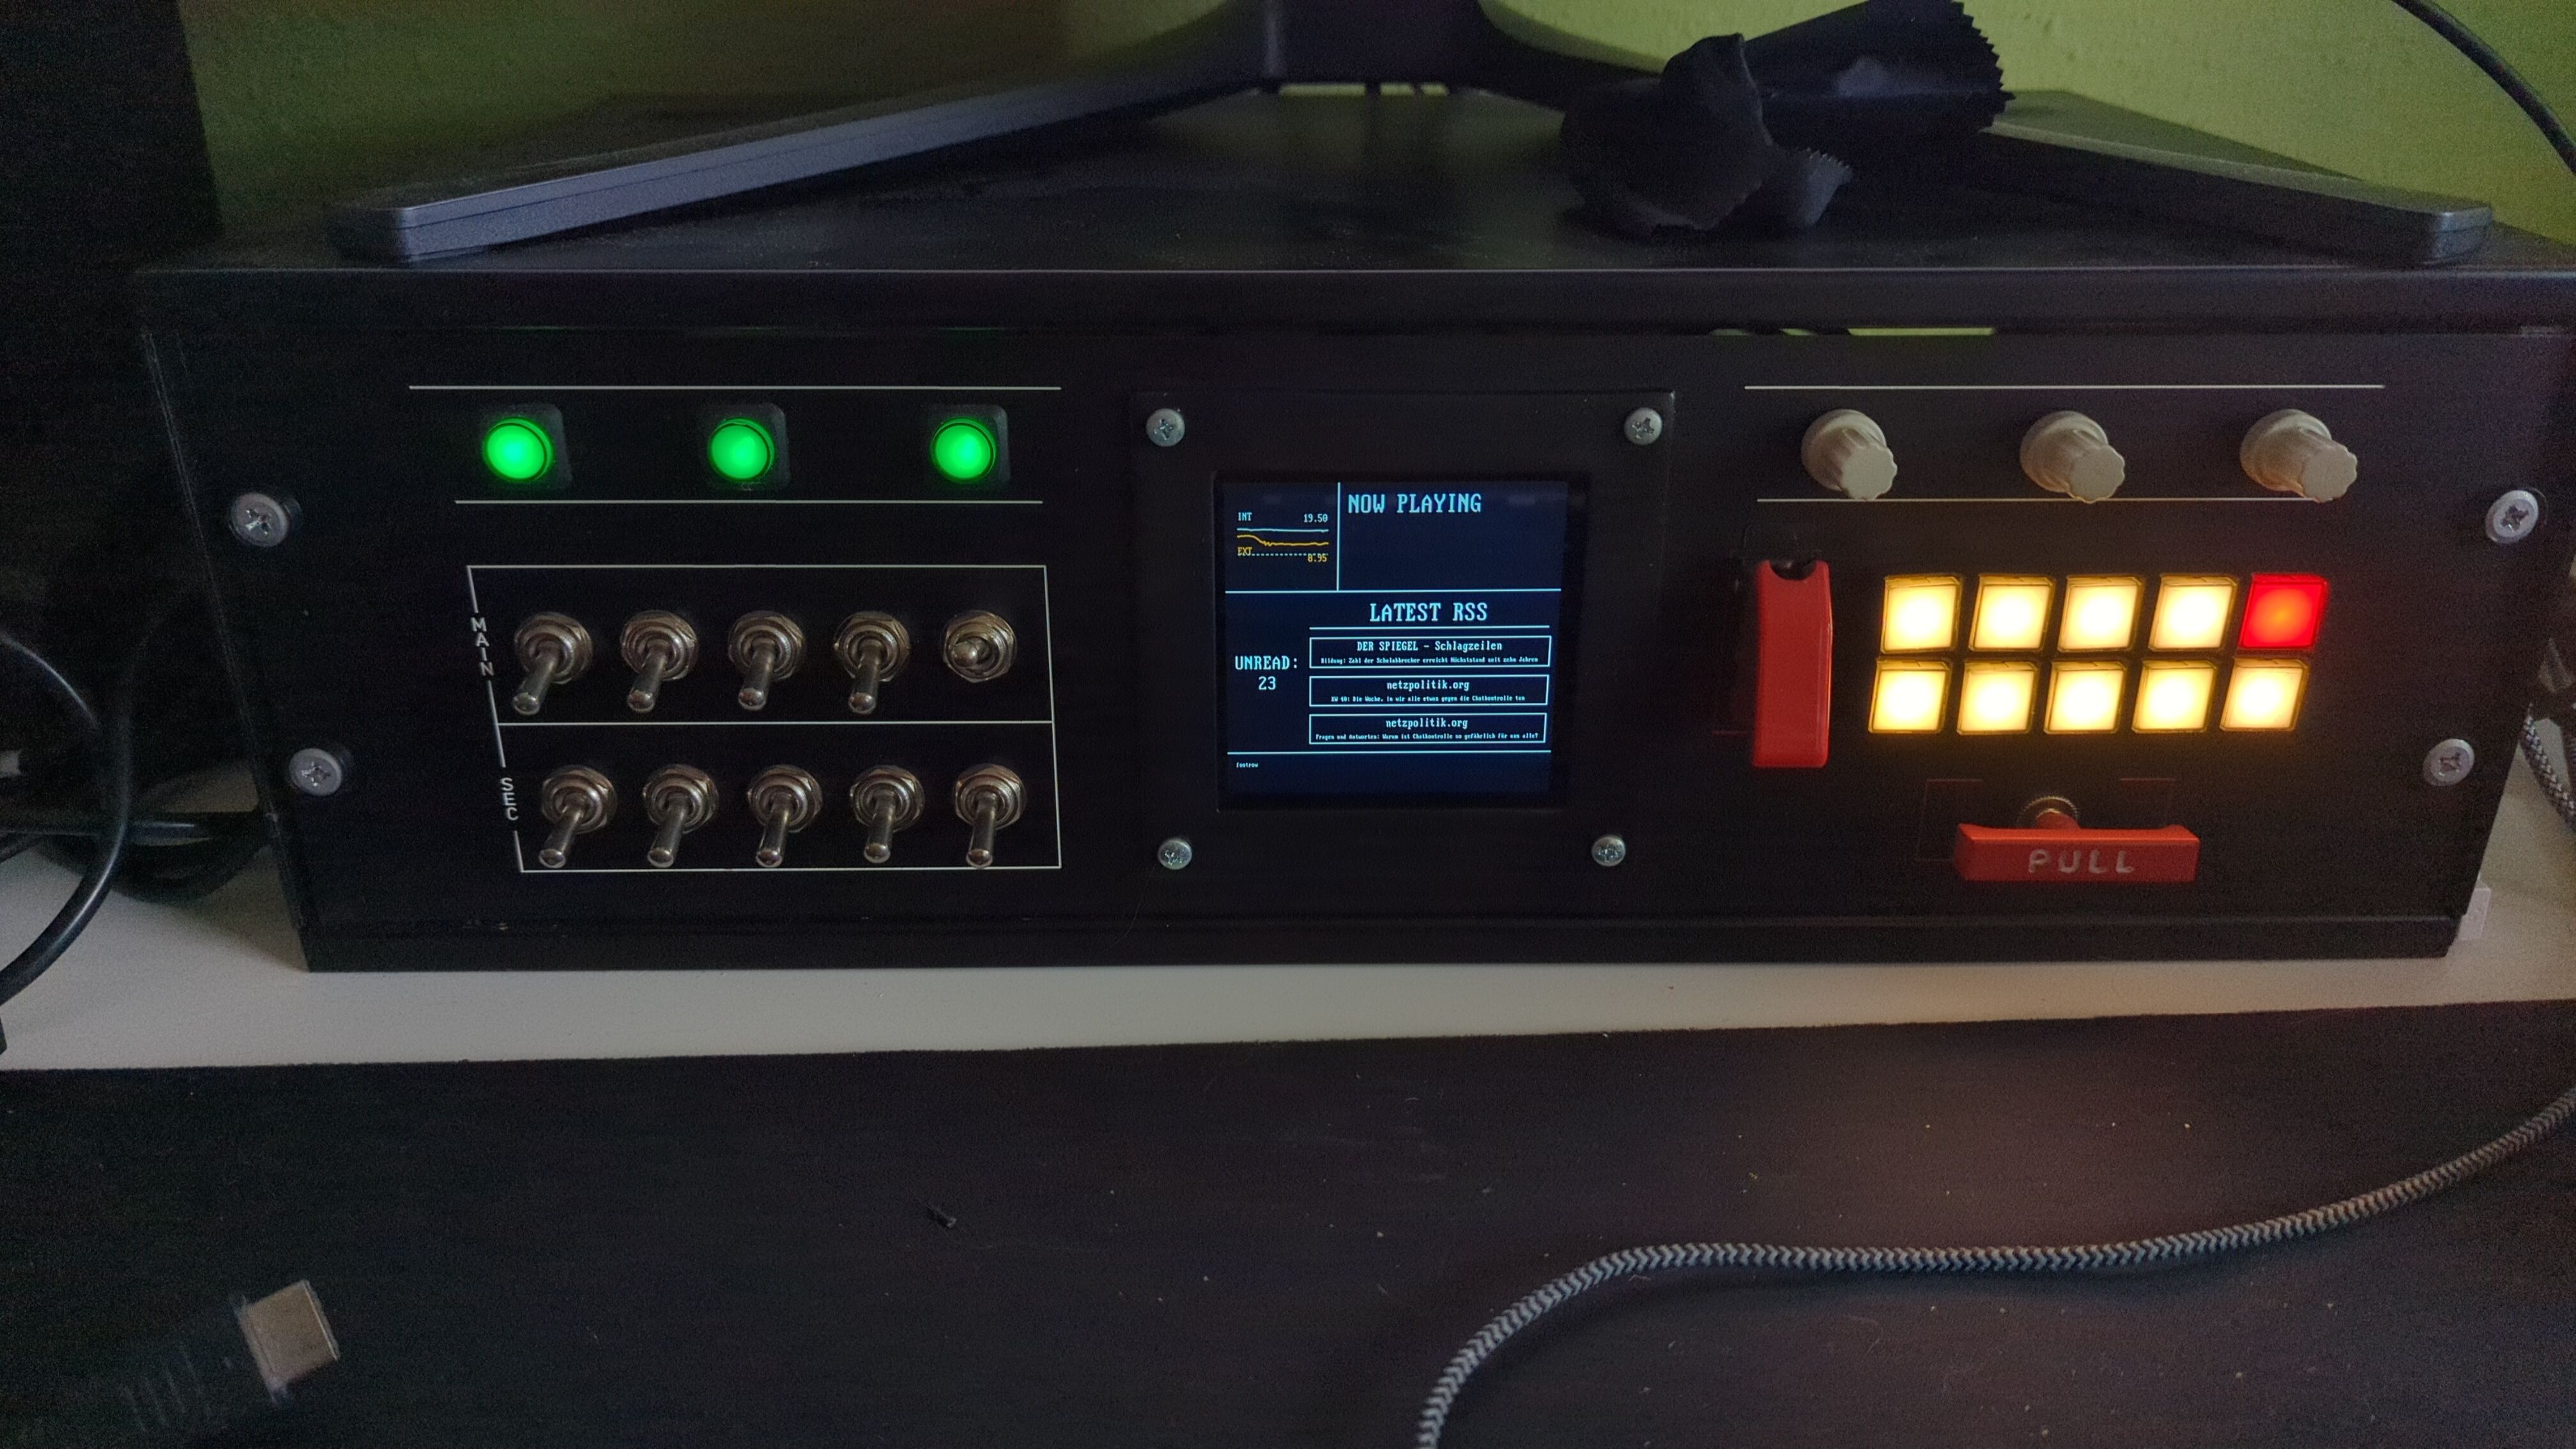 In all its glory
This posts goes over both the history of my button box projects as well as how the UBB works on both the hardware and software side. I won't finish this post in one go and the project is – of course – not finished yet, so regard this as a sort of living document.
A short history
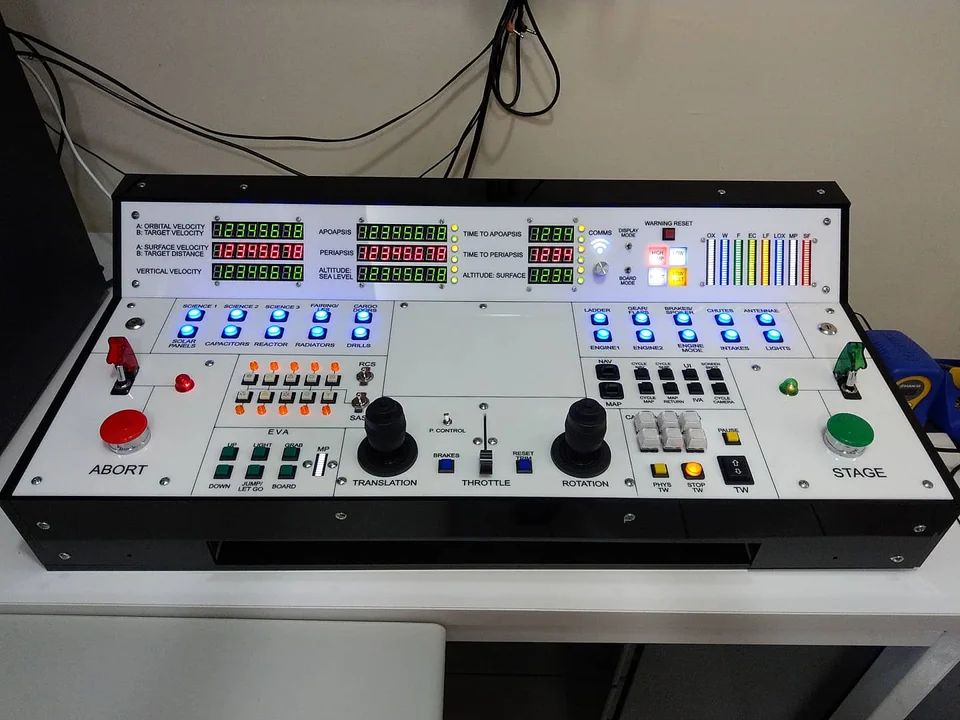 Tell me this isn't the sickest shit (by u/codapopKSP)
Around 2015–2016, I saw a bunch of custom button boxes for Kerbal Space Program as well as a video on Youtube from a game booth for “Objects In Space” that made me decide that custom made game controllers are the coolest thing in the world and that I want to build one myself. Around 2019, after a long time of musing about that, I asked a friend whose family had a metal workshop if he could drill a few holes into a steel plate for me, and my first build was on its way.
Button Box #1
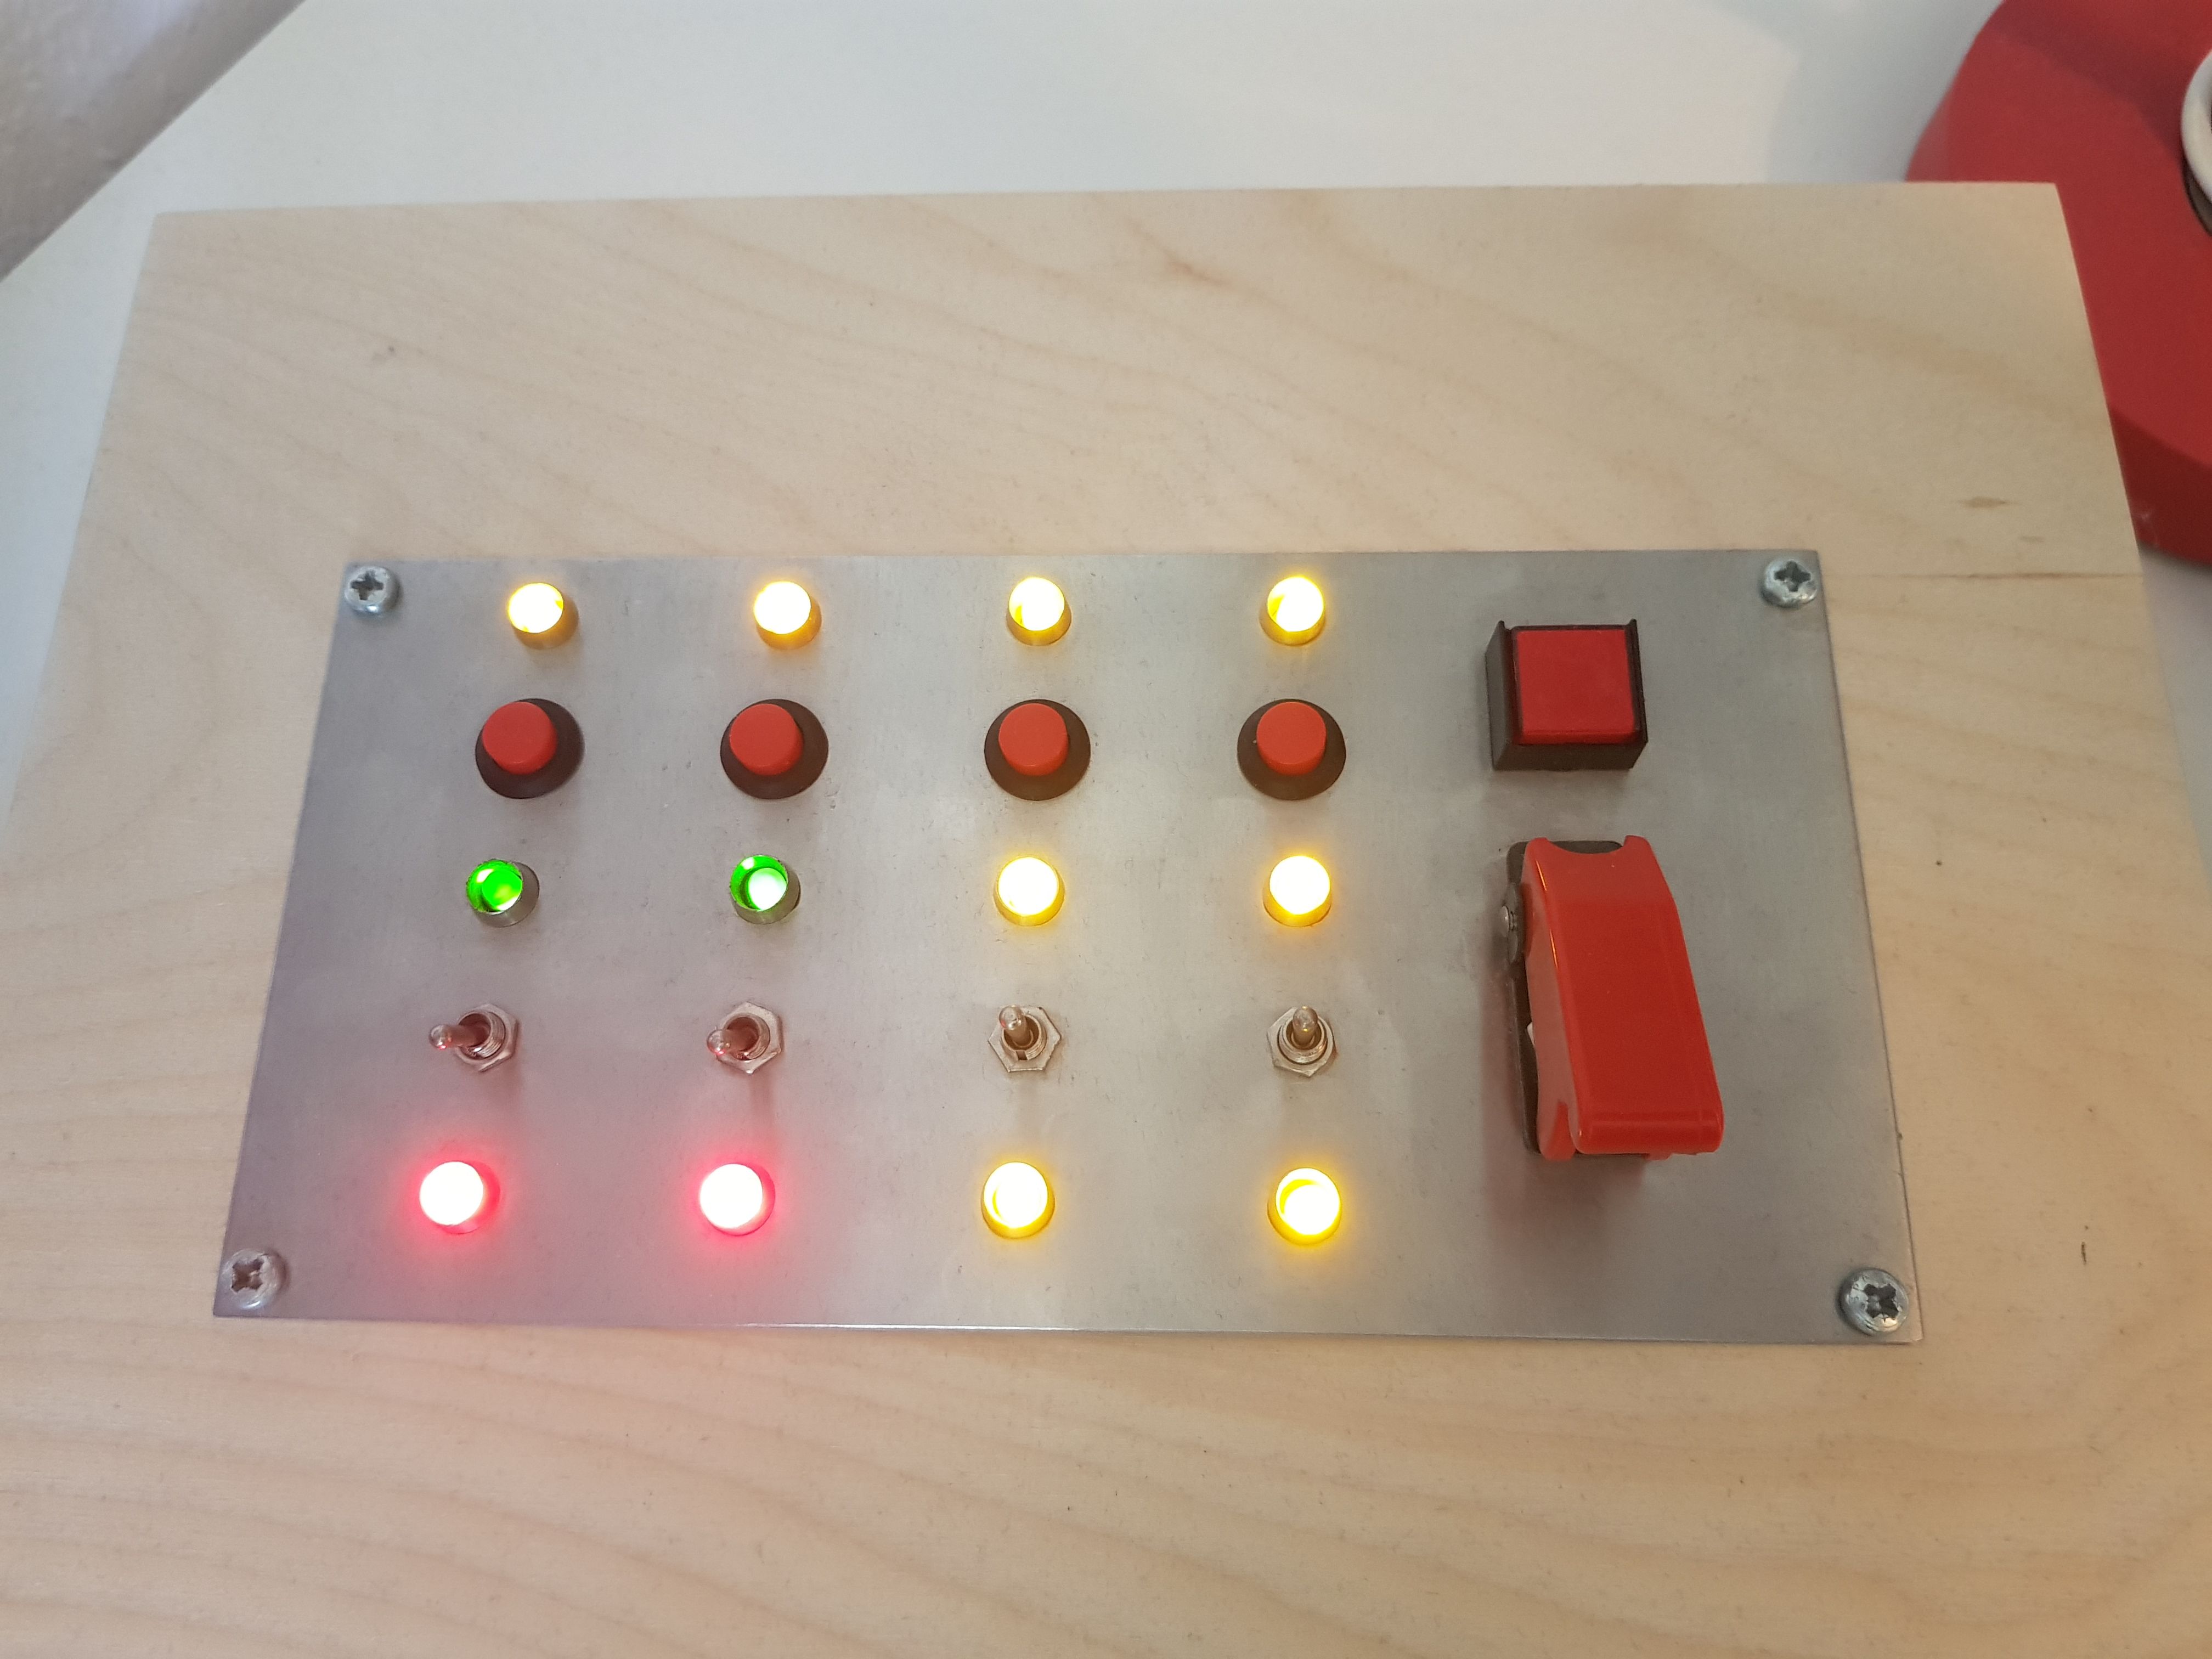 The large red button lit up at one point too
Housed in a 5€ wooden box from amazon, this is almost the platonic ideal of baby's first button box. The logic heart was a Teensy board configured as a HID game controller, with the buttons plugged directly into IO pins. As for the LEDs, I believe that at the beginning they were simply in series with the buttons lighting up as they were pressed, until I figured out how to build a driver circuit (shown below).
As for supported games, I believe I only ever wrote a script for WarThunder (i played A LOT of WT at the time, plus it has a very nice API) and DCS to address the LEDs over serial for in-game events. All in all I didn't get that much use out of it mainly because there was always something broken and adapting it for games was a hassle, plus it really wasn't the most practical design taking up a lot of space. Today, the steel front plate lies somewhere in a drawer, and the rest has been disassembled and reused in various other projects.
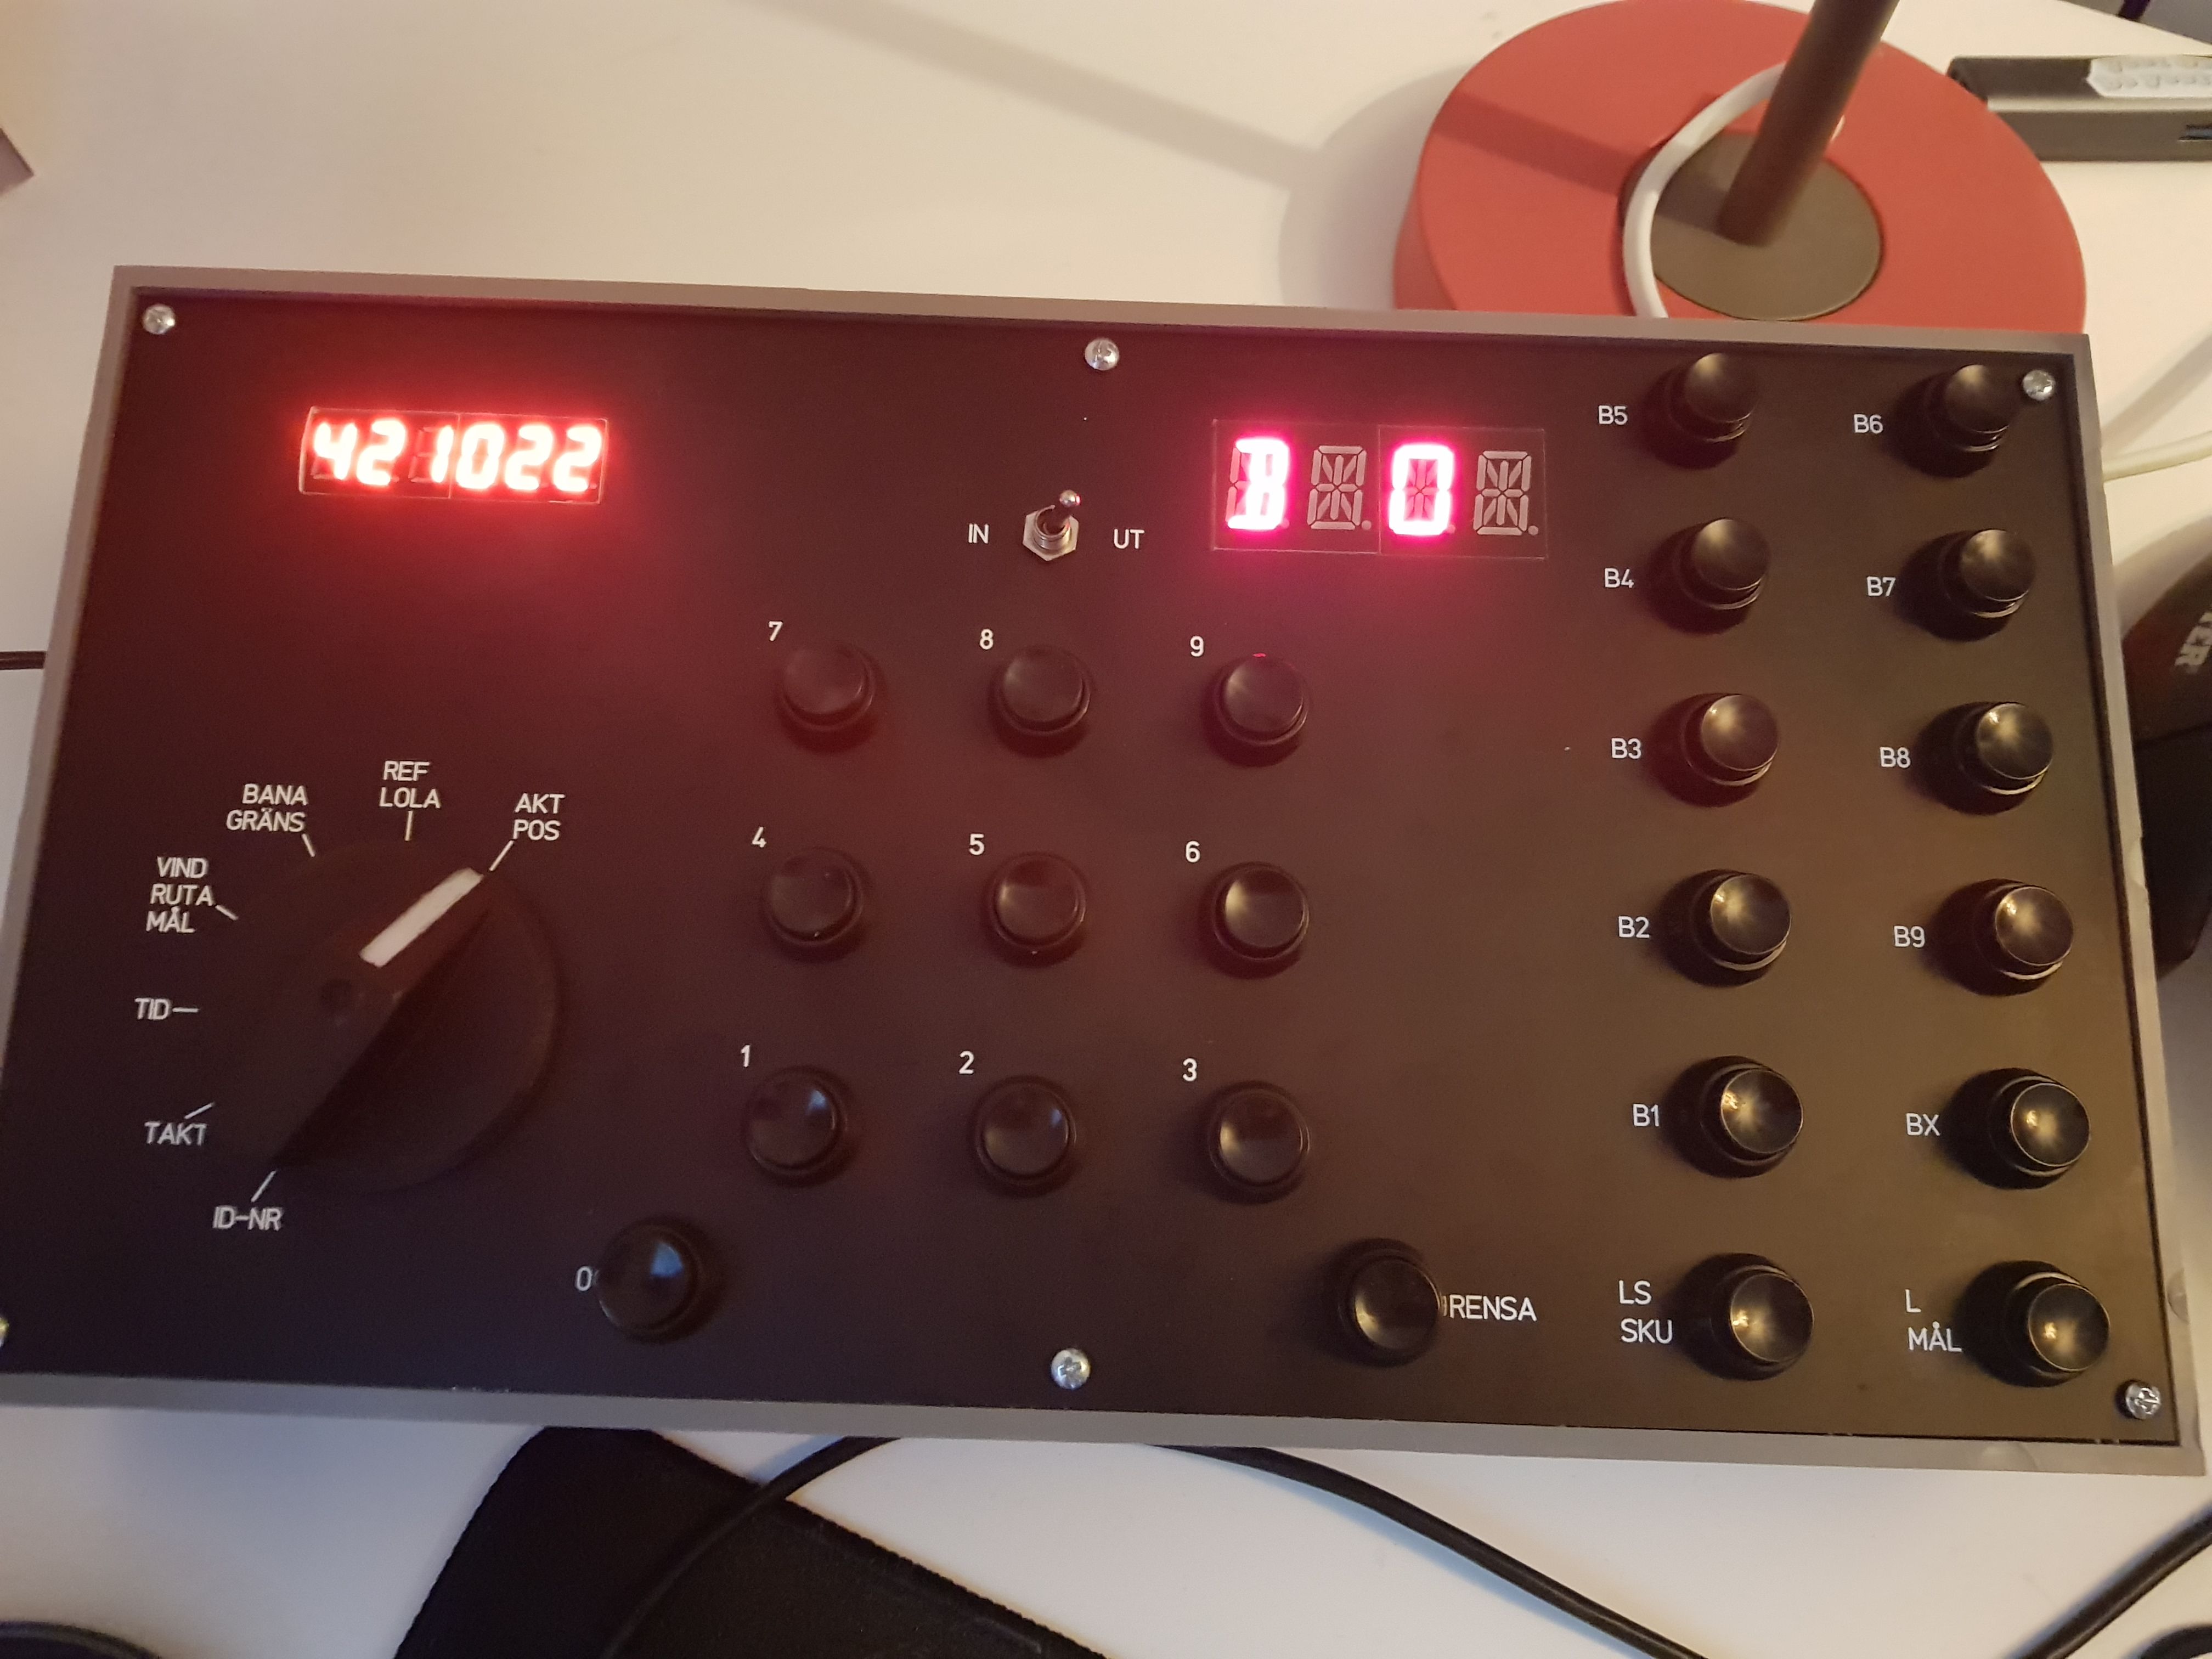
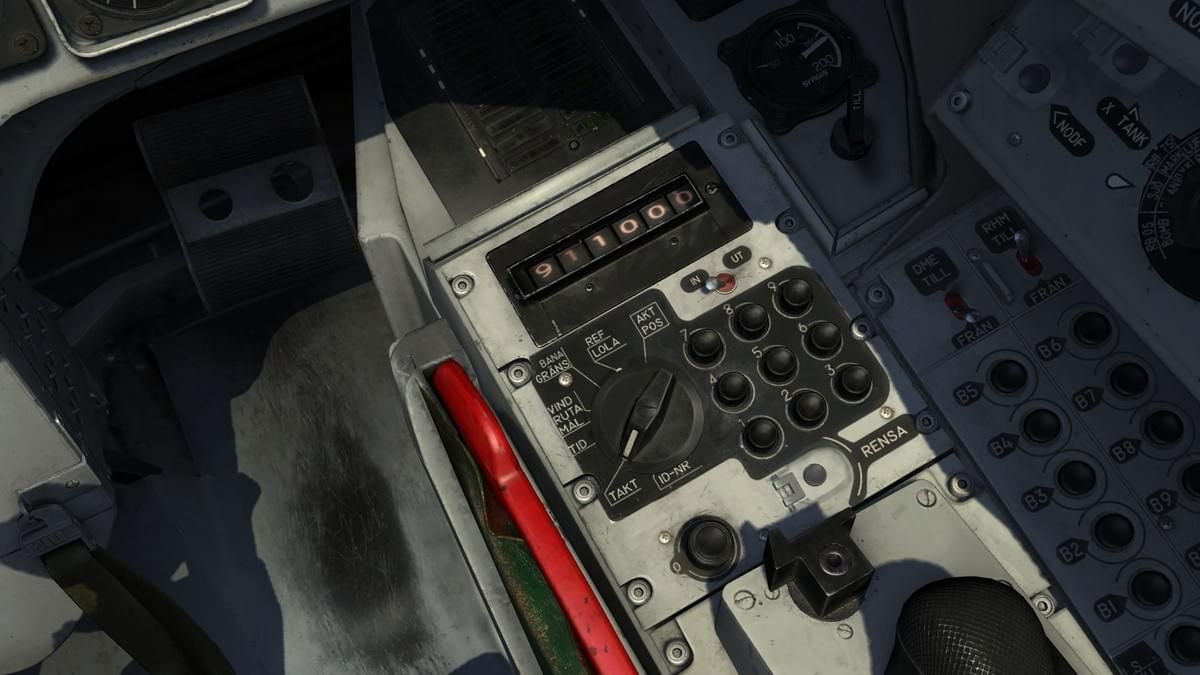
The CK-37
 |
 |
|---|---|
| On my desk | In DCS |
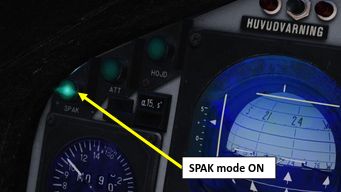
My favorite plane to fly in DCS is the swedish AJS-37 Viggen, and it has this funky early digital flight computer called the CK-37. During flight, you interact with it via a numpad and two readout displays, which, if you try to click buttons in a virtual cockpit with your mouse, is pretty tedious. So, in 2021 I set out to make a new box. My aim for this one was a clean look next to pure functionality, which let to dropping a cool 80€ on the custom machined and engraved aluminium front plate. I also had access to a 3D-Printer, which helped with the very satisfying to operate large selector switch for mode switching. Besides the display for data output (6 seven segment numbers, left) and current waypoint (right, 4 star-shaped letters) there is also the 10-key numpad plus RENSA (delete), the in/out switch and the waypoint selection buttons.
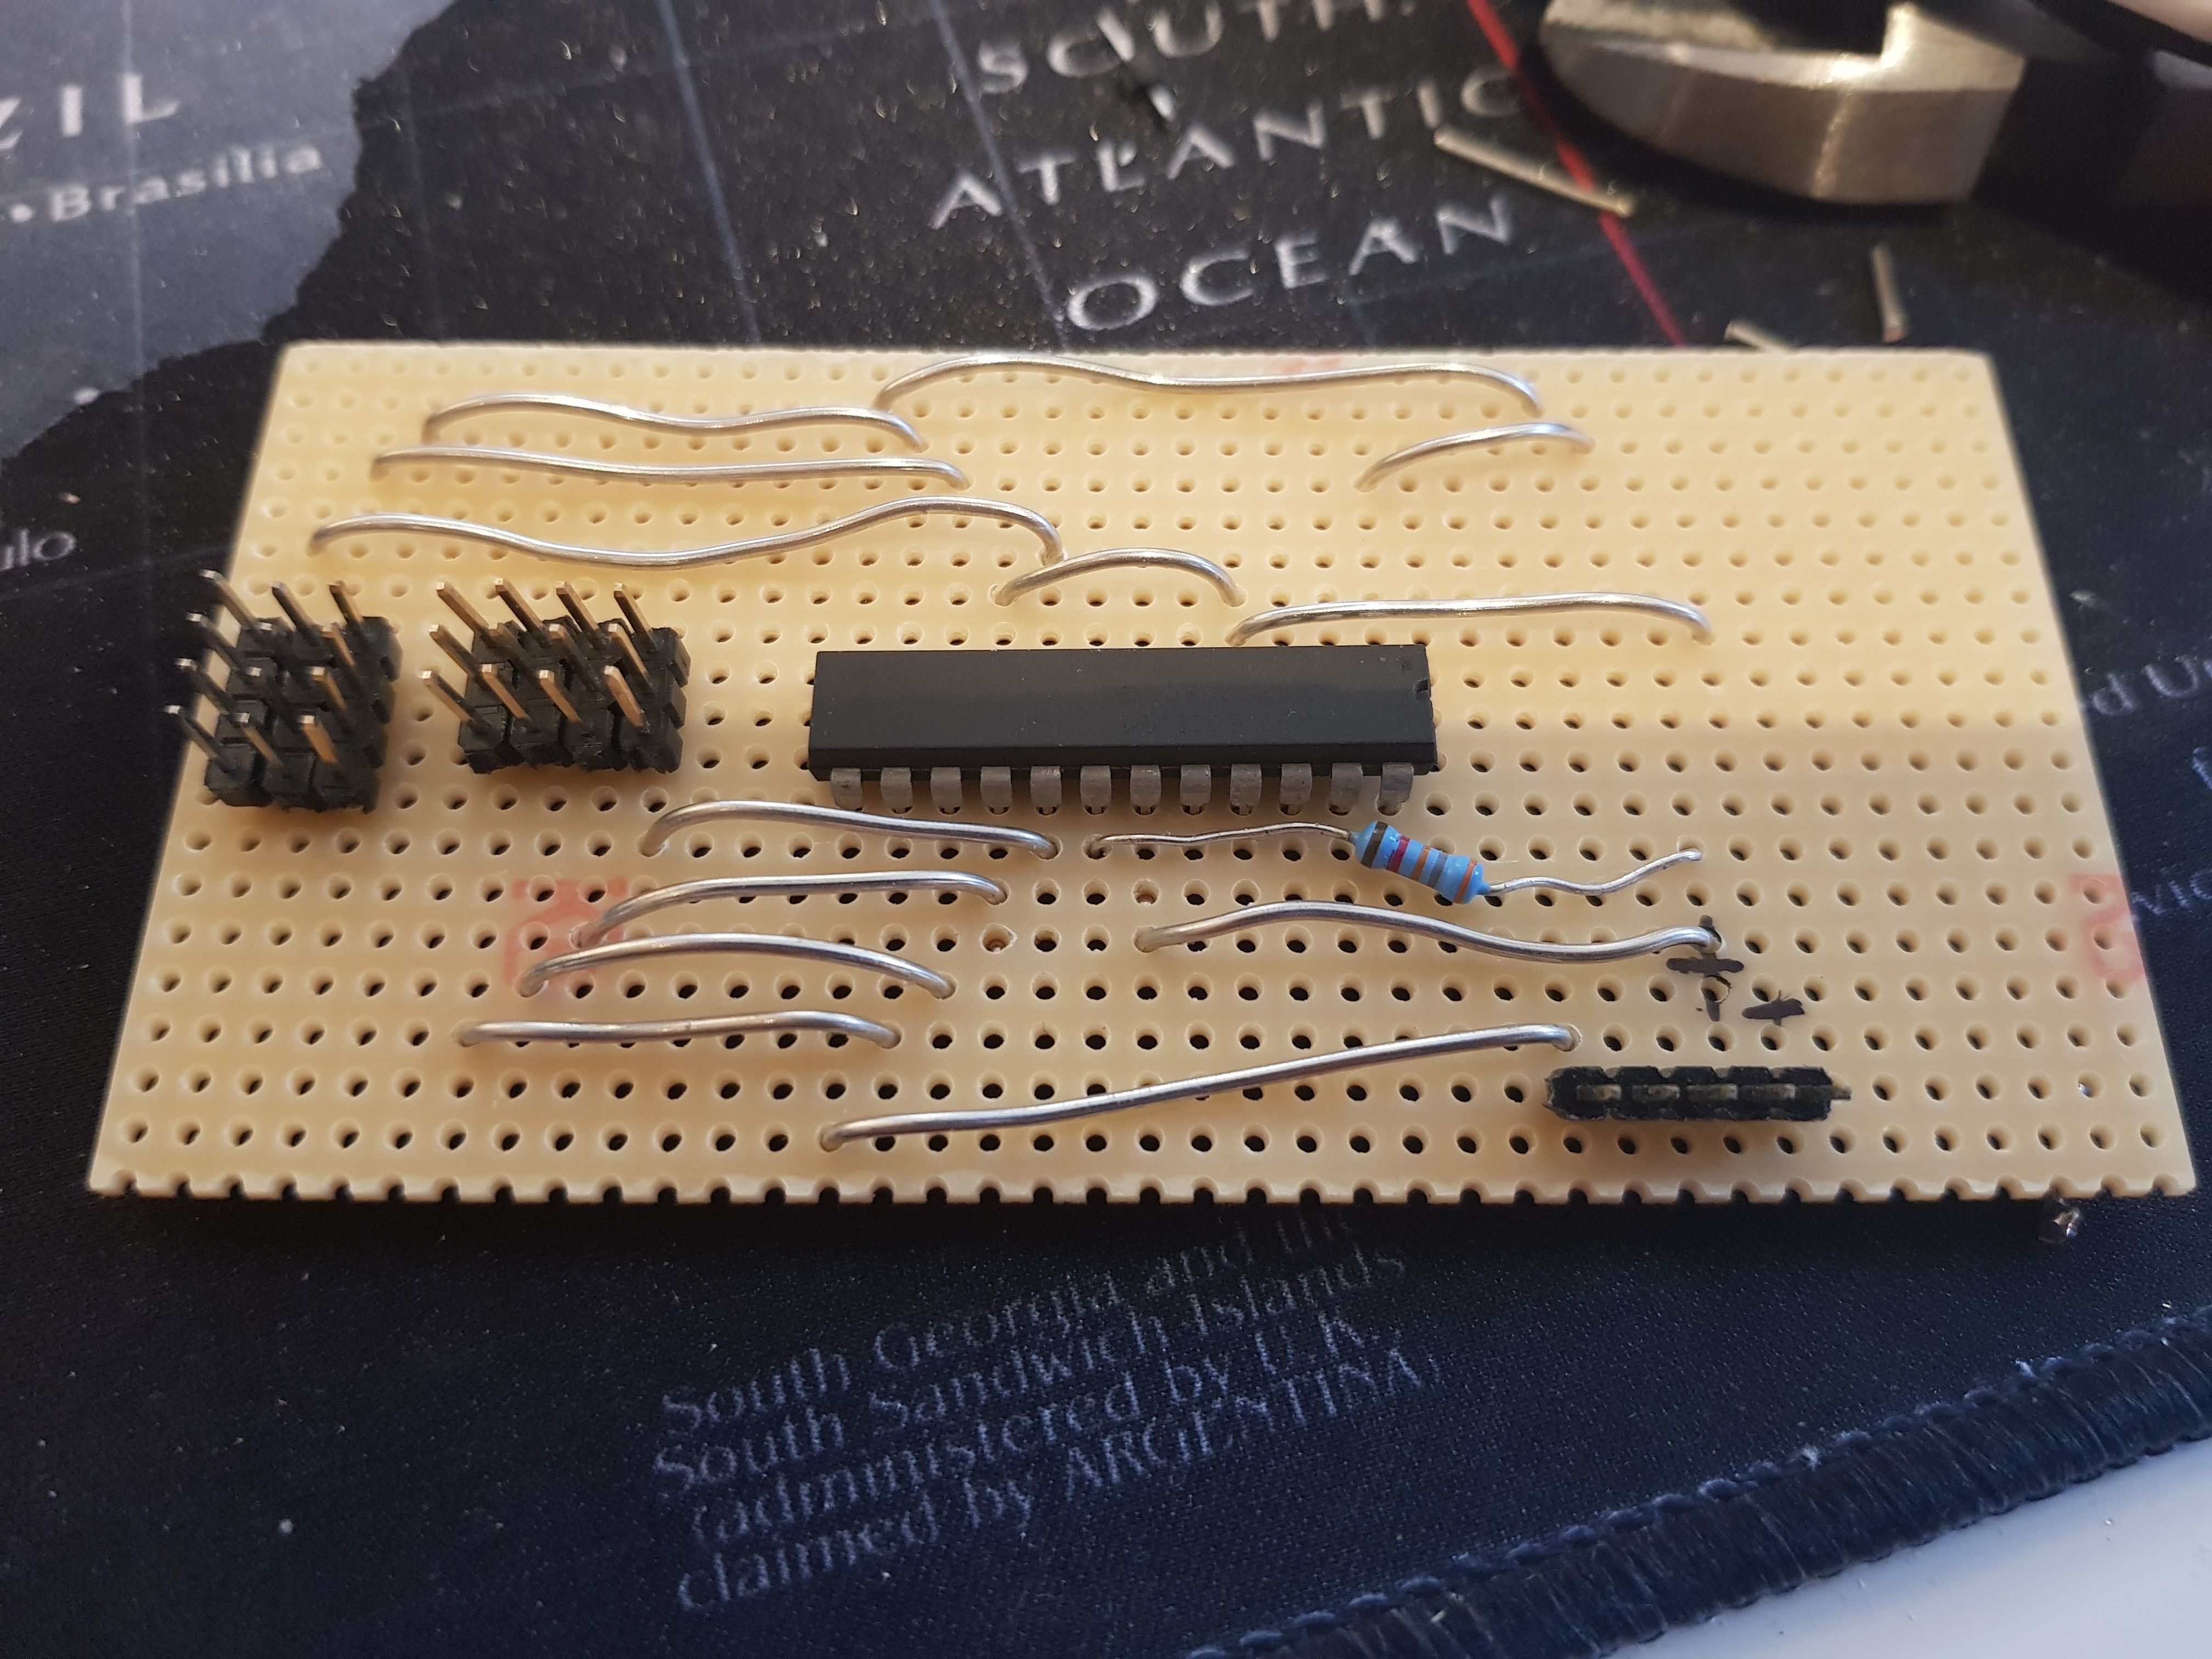
I startet with the DCS interface to get the displays working, which thanks to DCS Bios was pretty easy. DCS Bios sends data over UDP multicast, that data was then send over USB to the Arduino Leonardo (i think?) inside the box. Button input was once again send as HID Joystick input from the Arduino. Since I had more buttons than IO pins this time, I had to learn what button matrices and multiplexing is which led to me ultimately dipping my toes into custom PCB design:
 Don't mind the inscrutable meme, I was writing an essay on Frederick II's death at the time
The UBB
Going on from the CK-37, I originally intended to build the box around the Viggen's radar screen. You can still see that influence for example in the three green buttons, which were intended for the planes three autopilot buttons.
 Picture from Chuck's Guide
I started once again with the display part, which took quite a time to find a suitably sized square screen. The problem was that the pipeline to get the radar picture from DCS to the Raspberry Pi powered screen. DCS allows the export of instruments to secondary screens, so I had to fake a virtual second screen, export the radar scope, and then stream this second screen to the RasPi. And it worked, but was VERY prone to breaking.

At this point, I had already bought a 3U rack case as the outer shell for the box, and was designing the front plate along standard server specifications. But by now I also wanted to use the Box for multiple games, and made the decision to redesign it to make it a bit more “nonspecific”.
Design and System Architecture
Design Inspirations
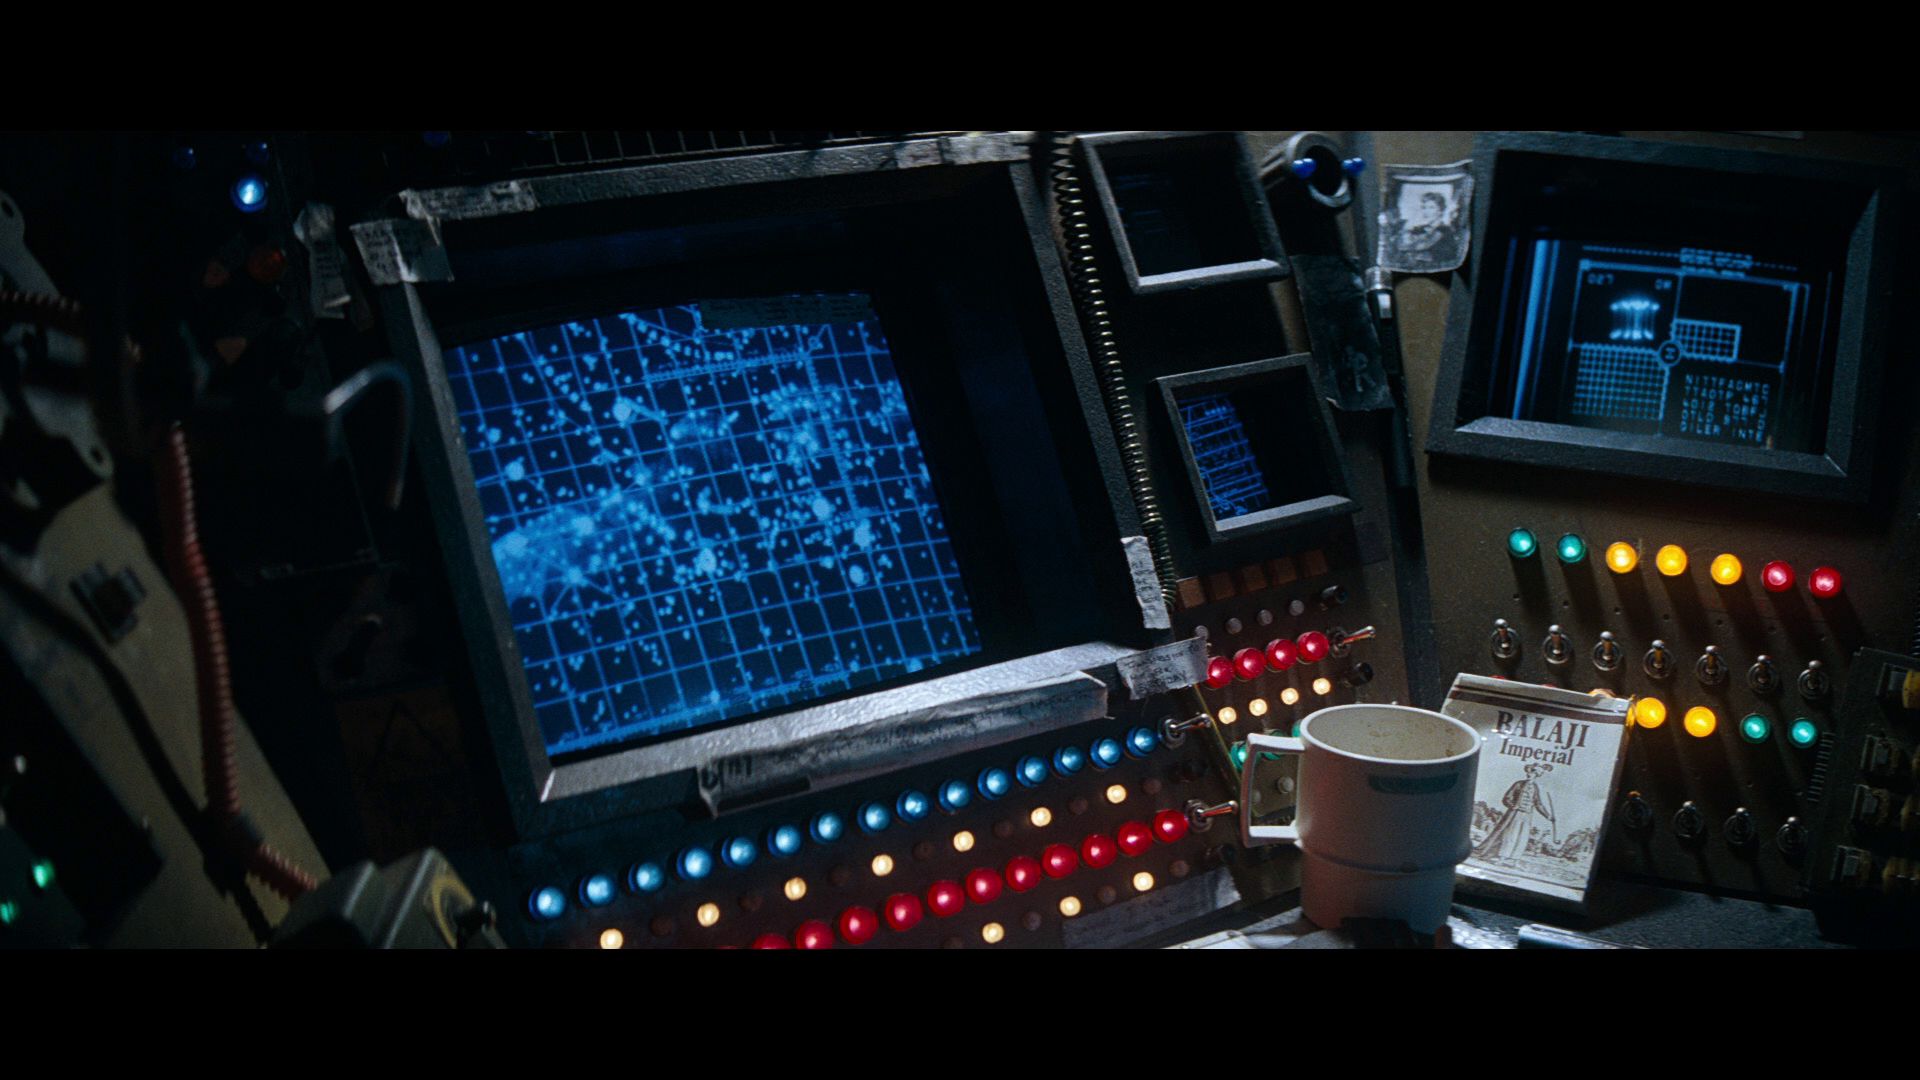 This is where i'm posting from
One of my favorite aspects of Alien (my fav SciFi movie, how could you tell?) has always been its dark, chunky, lived-in retrofuturist sets with the CRTs and buttons and switches and cables and lights. So naturally this was where my mind went after deciding not to go forward with the swedish cockpit model. As far as practicalities went, I wanted 1) Lit buttons (pretty) 2) Rotary encoders (useful for a variety of things from autopilot altitude setting to sound volume) 3) Switches (not very practical for sims, but i crave the chonk)
Front plate design
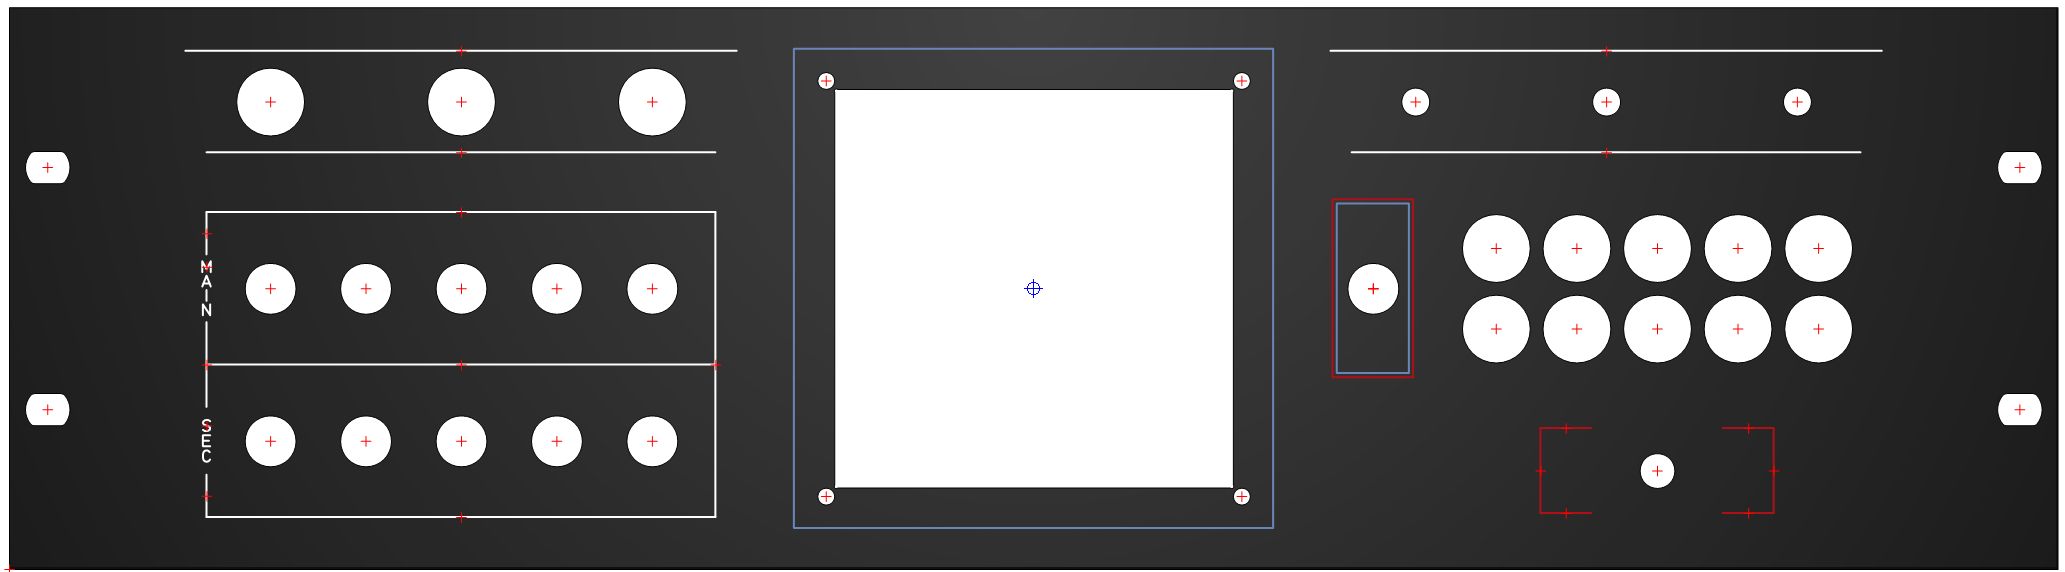
I ordered the plate from the same place as the CK-37 (paid around 110€ this time). A big improvement to the previous box was 3D-printing a bezel for the screen instead of just hotgluing it to the metal as i did before (lol). Because of the universal nature of the design i refrained from adding too many labels except for the MAIN/SEC on the left. The encoder knobs and the pull-handle on the lower right are 3D- printed and painted, nothing special there.
The Hardware
Due to how many buttons there are and the RasPi having all its GPIO pins taken up by the screen i needed two Arduinos this time, one with a button matrix board and the LED driver attached and one extra for the encoders. The LED driver boards are also a custom design,
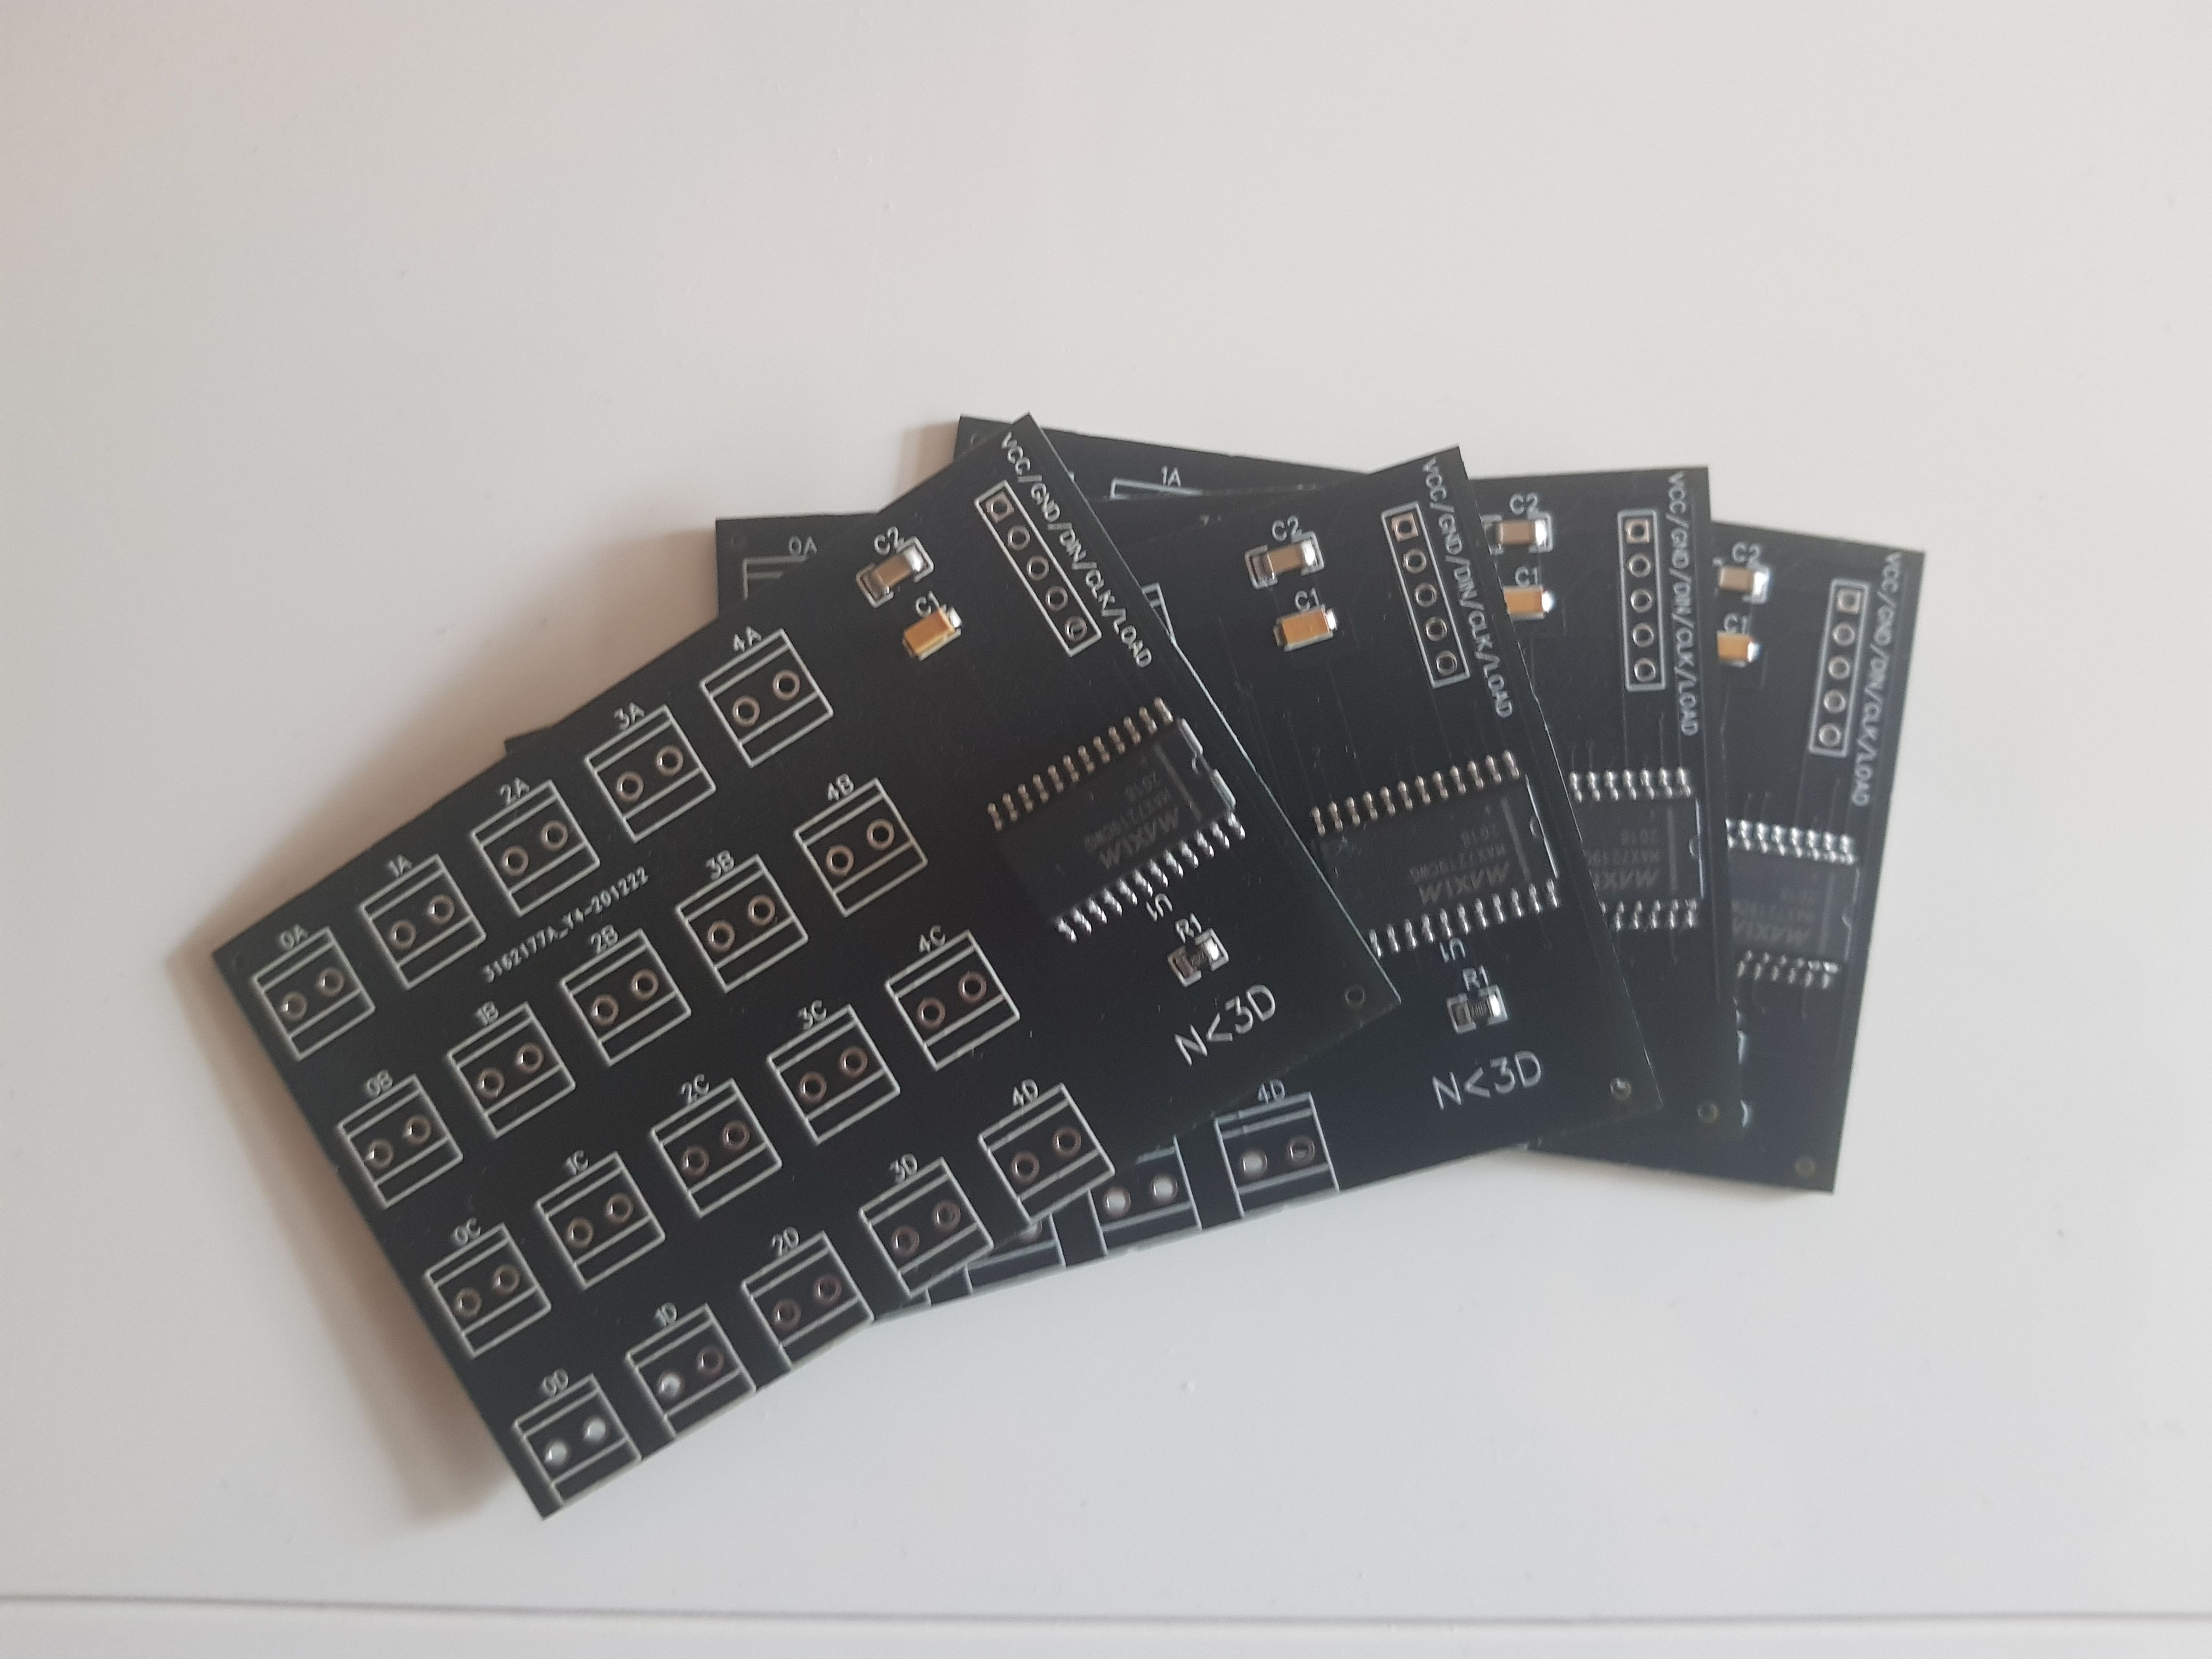
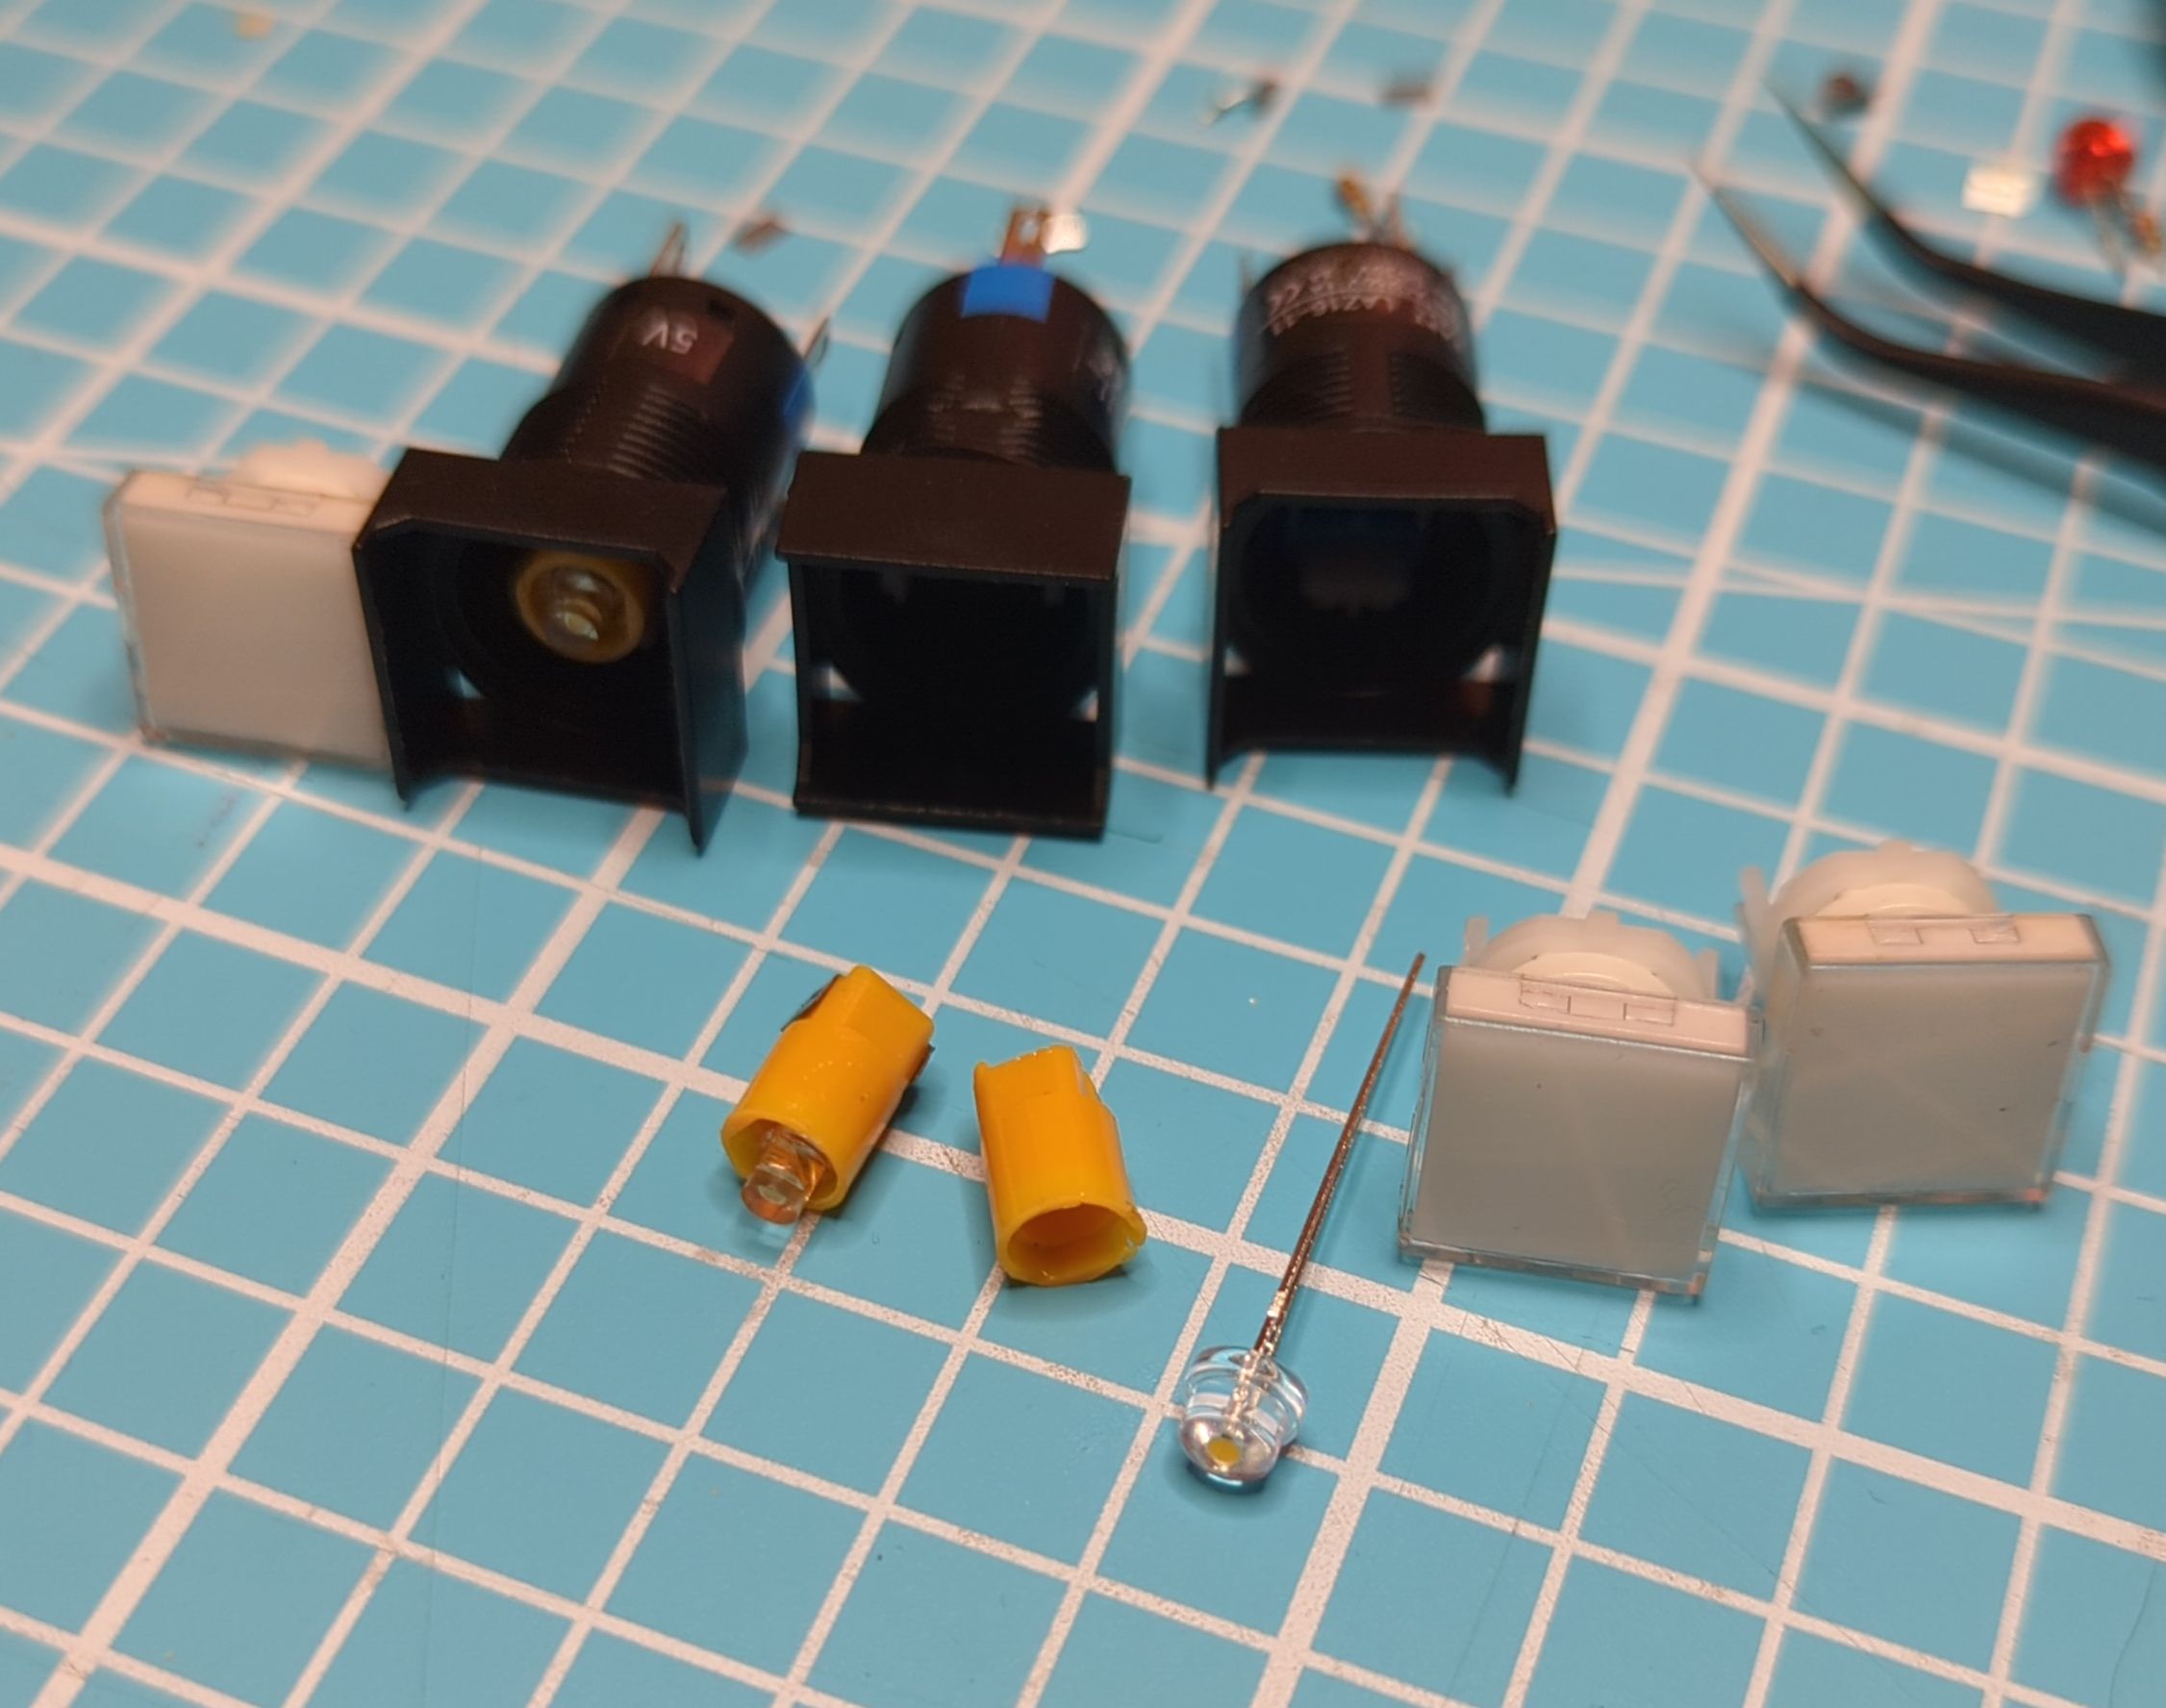
but i made the mistake of spacing the screw-in wire terminals (in themself a good choice) too close together so getting the wires in is very hard. The Arduinos then in turn connect over USB to the RasPi, which is the brains of the whole box. My latest modification on the hardware side was replacing the LEDs inside the buttons for brighter and warmer ones, which was easier than thought.
The Software
TODO
Implemented Games
TODO
bluesky drama is slowly turning me into a fediverse maximalist lol
Im not allowed to follow more than one car youtuber at a time otherwise i'll start believing that i could totally drive and maintain a fucked up old sports car